From continuous photo to a grid of blocks
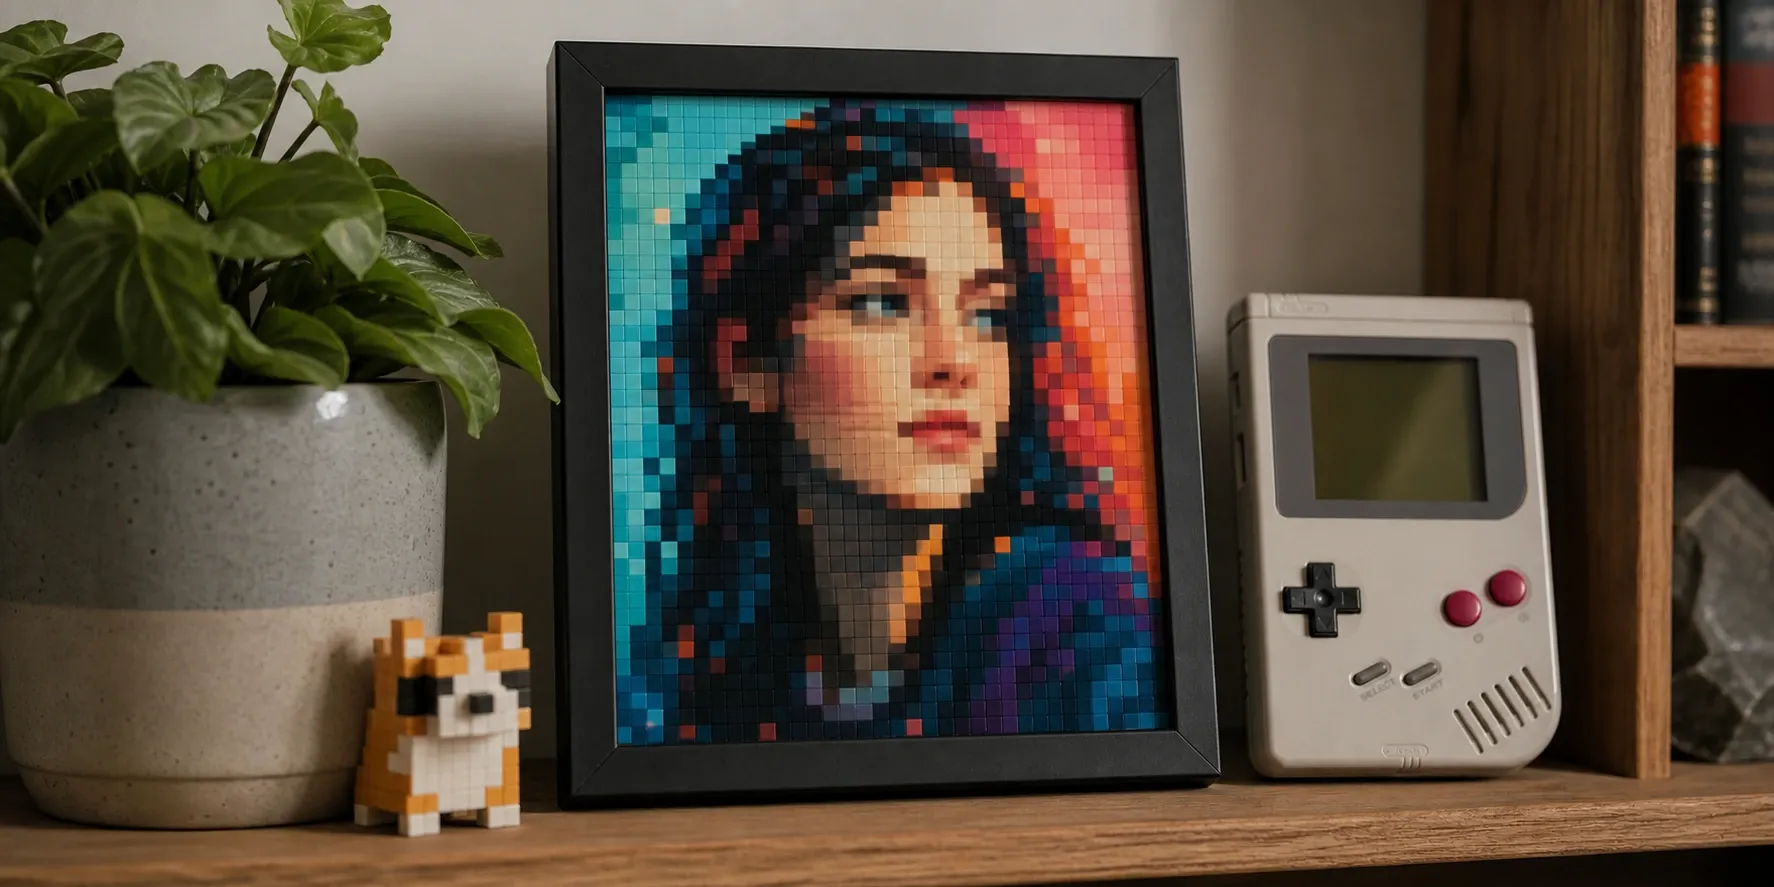
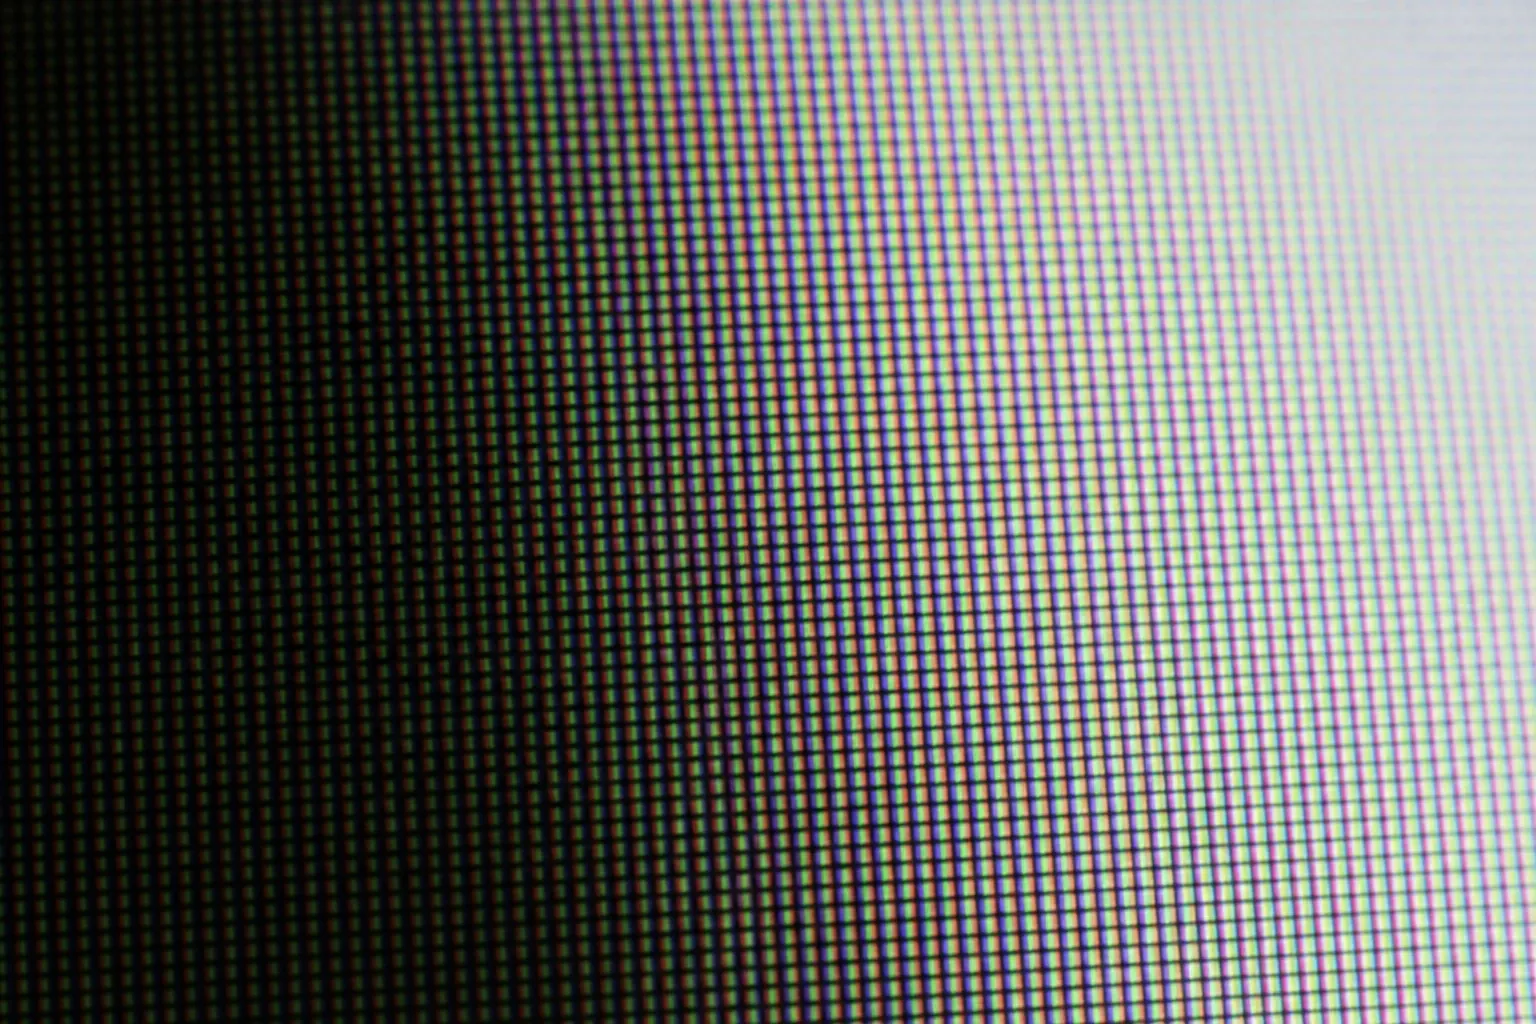
A photograph stores millions of subtly different colors on a fine grid of pixels. Pixel art is the opposite: a small grid of large, flat blocks drawn from a tiny, deliberate palette. Converting one into the other is a two-part problem — reducing the resolution and reducing the colors — and doing each well is what separates crisp, readable pixel art from a muddy, downscaled photo.
Downsampling: choosing the grid
The first step shrinks the image to the target grid (say 64×64). Rather than pick one source pixel per block, a good converter averages every source pixel that falls inside each block. This area averaging keeps colors representative and avoids the noise you get from naive nearest-pixel sampling. The block average is also alpha-weighted, so transparent regions do not drag colors toward black.
Color quantization: choosing the palette
With the grid in place, each block still holds a full-color value that must be mapped to a small palette. In Auto mode the palette is learned from the photo using k-means clustering in the CIELAB color space, so the chosen colors are perceptually distinct. In Retro mode the blocks are snapped to a fixed console palette, and in Custom mode to colors you supply. Working in CIELAB rather than raw RGB means "nearest color" matches human perception.
Dithering: faking shades you do not have
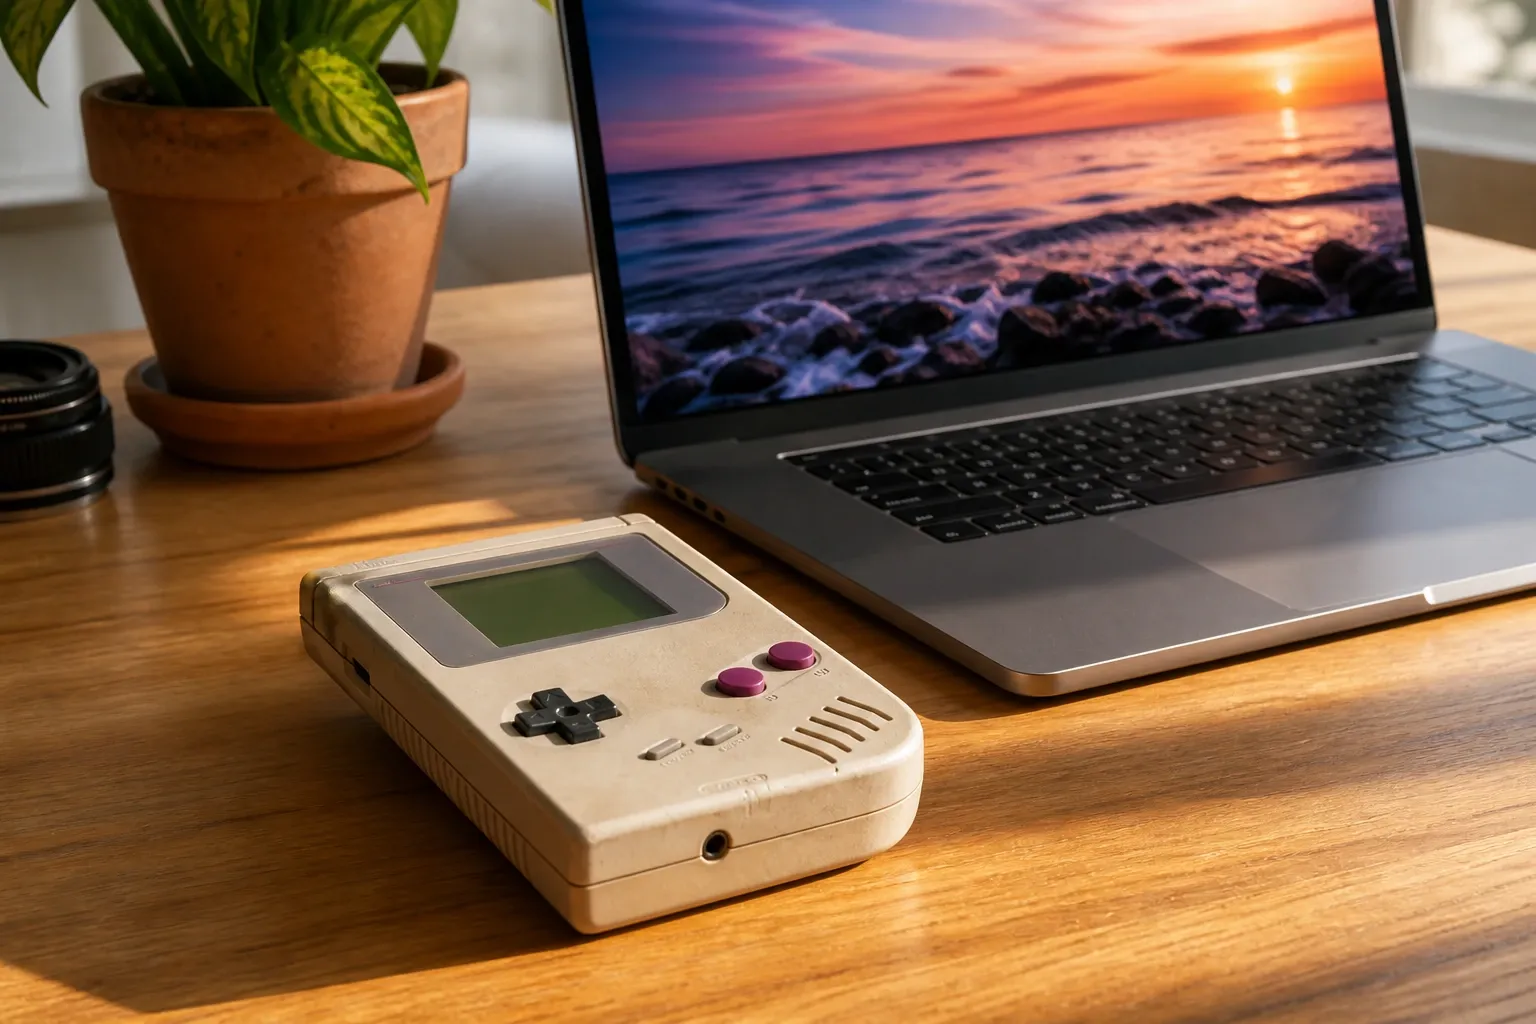
A four-color Game Boy palette cannot show a smooth sky — unless you dither. Floyd–Steinberg dithering, published in 1976, quantizes each pixel to the nearest palette color and then pushes the resulting error onto neighboring pixels, so a region that is "between" two colors becomes a fine mix of both that the eye blends into an intermediate shade. Ordered (Bayer) dithering instead adds a fixed threshold pattern before snapping, producing the characteristic cross-hatch of old games with no error propagation. Both keep the output strictly inside the palette.
Rendering and export
Finally the small grid is drawn to screen with nearest-neighbor scaling (no smoothing), so each block stays a crisp square. Exporting the native grid gives a tiny, exact PNG ideal as a sprite; exporting at an integer multiple (4×, 8×) gives a larger image with the same hard edges — perfect for avatars, wallpapers, or printing.
Why pixel art still matters
Pixel art was born from constraint. Early home computers and consoles could only address a handful of colors and a few thousand pixels, so artists learned to say a lot with very little: a face in sixteen pixels, a forest in four colors. Those limits are gone technically, yet the aesthetic endures because the constraints force clarity. A well-made piece of pixel art reads instantly, scales to any size without a rendering engine, and carries a nostalgic charge that high-resolution art rarely matches. Converting a photo into that language is not just a downscale — it is a translation from "capture everything" to "keep only what reads."
Choosing settings for different images
The right settings depend on your subject. Portraits and faces benefit from a slightly larger grid (96–128px) so the eyes, nose, and mouth remain distinct, plus an Auto palette that preserves natural skin tones; heavy dithering can add noise around fine features, so start light. Landscapes and skies are where dithering shines: a small palette plus Floyd–Steinberg turns a smooth gradient into a convincing blend, and Ordered dithering gives it a deliberately retro banding. Logos, icons, and flat graphics usually want a small grid, few colors, and no dithering at all, because clean flat blocks read best. When in doubt, start at 64px with an Auto palette and no dithering, then adjust one control at a time.
Palette theory: why fewer colors can look better
It is counter-intuitive, but reducing the number of colors often improves a converted image rather than degrading it. A full-color photo scattered across a tiny grid tends to look muddy, because adjacent blocks differ by tiny, meaningless amounts. Snapping those blocks to a deliberate, limited palette imposes order: shapes gain edges, shadows group into a few readable tones, and the whole image feels designed rather than sampled. This is why classic four-color and sixteen-color palettes still look striking. Because the palette selection happens in CIELAB, the tool spends its scarce colors where your eye will notice them most — a few tones for a face, a couple for a background — instead of wasting them on differences you cannot perceive.
When photo-to-pixel-art works — and when it does not
Conversion works best on images with a clear subject, good contrast, and simple backgrounds: a single face, a pet, an object on a plain surface, a bold landscape. It struggles with busy scenes full of small overlapping details, very low-contrast photos where everything is a similar mid-tone, and text — small lettering rarely survives being reduced to a coarse grid. If a first attempt looks muddy, try increasing the grid size (more detail), reducing the color count (more graphic), or cropping tighter so the subject fills more of the frame. Pixel art rewards a strong, simple composition; feeding it a cleaner input almost always beats fighting the settings.
Using your pixel art
Native-resolution exports are ideal as game sprites, favicons, emoji-style reactions, or the source for further hand-editing in a dedicated pixel editor. Integer-upscaled exports (4×, 8×) keep their hard edges and work well as profile avatars, chat stickers, phone or desktop wallpapers, and print pieces such as stickers or cross-stitch and bead patterns, where each block maps naturally to a physical unit. Because every export is a standard PNG, it drops straight into any app that accepts images — no special format, no watermark, no account.
Exporting at a Precise Print Size
Beyond the exact-pixel and integer-upscaled exports, the download panel also offers a print-quality mode: choose a paper size — A4, A3, A5, US Letter, or US Legal — and a print resolution of 96, 150, 300, or 600 DPI, and the generator computes the pixel dimensions that fill that sheet at that density, automatically picking whichever orientation, portrait or landscape, best matches your art's aspect ratio. 300 DPI is the common target for a crisp inkjet or laser print; 600 DPI suits small prints viewed up close, while 96 or 150 DPI is plenty for a screen-only mockup. Every export, in any mode, is clamped to a safe pixel ceiling — a few thousand pixels per side and roughly 30 megapixels total — so requesting a large sheet at a high DPI from a big source photo scales down automatically instead of producing a blank or crashed canvas on a phone browser.
When Not to Use This Tool
Photo-to-pixel-art conversion is the wrong fit for a few jobs. If you need scalable vector line art you can recolor freely — a logo outline or a laser-cutting template — this generator's raster block grid is the wrong shape entirely; the coloring page generator produces true vector outlines instead. If your source image is mostly text — a screenshot, a scanned page, a meme with captions — small lettering rarely survives being reduced to a coarse grid and will come out as illegible smudges no matter the settings. And if you must preserve exact brand colors for a logo or palette, remember that Auto mode's k-means clustering approximates the closest representative shades rather than guaranteeing an exact hex match; use Custom mode and paste your precise colors when exactness matters more than automatic color selection.
Related: extract the palette first
If you only need the colours — for a CSS theme, a Tailwind config, or to build a custom hex list to paste back into this generator — the colour palette generator from image runs the same CIELAB k-means engine and exports HEX, RGB and HSL swatches with their share of the picture. And when the goal is a real vector file rather than a pixel grid, the image to SVG converter traces flat regions into editable paths.