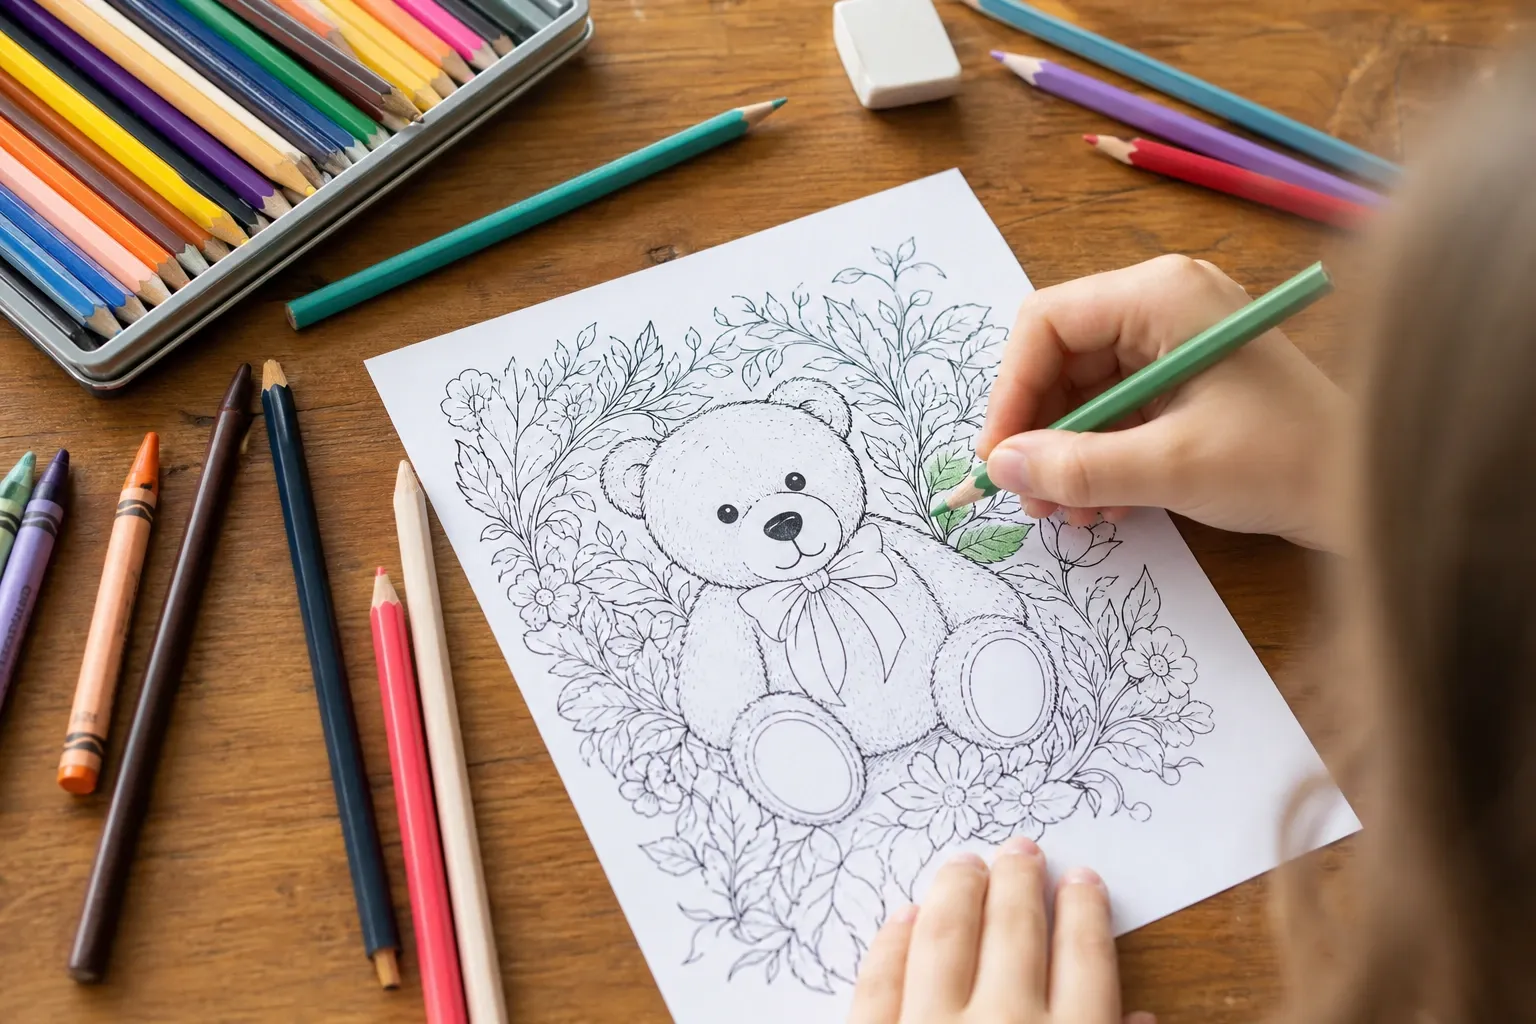
From Photograph to Clean Black Outlines
A coloring page is the opposite of a photograph. A photo is a dense field of continuous tone — millions of shaded pixels — while a coloring page is a sparse set of clean black outlines on white paper, with all the shading removed so a person can fill it in themselves. Turning one into the other is not about "removing color"; it is about finding the edges: the boundaries where one region meets another, drawn as crisp lines and nothing else. Do that well and you get a page that is fun to color. Do it poorly and you get a muddy tangle of gray scribbles.
This guide walks through how to get clean, printable line art from any photo, control by control. To follow along with your own images, our free Coloring Page generator runs the whole process in your browser — your photo is never uploaded to a server, which matters when the photo is of your own kids.
Step 1: Choose a Photo That Will Outline Well
The input decides most of the outcome. Coloring pages come from edges, so photos with clear, well-defined boundaries convert beautifully, while soft or cluttered photos produce weak, noisy lines. The best candidates share a few traits:
- A clear subject: one animal, one face, one flower, one vehicle. Busy group scenes turn into a confusing web of lines.
- Good contrast: a subject that separates cleanly from its background, so the outline traces the shape you actually want.
- Sharp focus on the subject: blurry areas have no real edges to find, so they either vanish or dissolve into speckle.
- A simple background: plain backdrops keep the page from filling with distracting outlines behind the subject.
Crop tightly so the subject fills the frame. A big, bold subject always makes a better coloring page than the same subject lost in a wide shot.
Step 2: Understand How the Outlines Are Found
Under the hood, the tool does not hunt for brightness gradients the way a classic edge filter would. Instead it segments your photo into a small number of flat color regions, grouping neighboring pixels whose colors are close in the perceptual CIELAB color space using k-means clustering — the same engine behind a paint-by-numbers template. It then finds the connected regions and traces their boundaries into clean, continuous vector outlines, rendering only those borders in black on white and discarding the fill. Because the lines are the borders between color regions rather than raw brightness edges, they close into complete shapes you can actually color inside, instead of the broken, speckled strokes a gradient edge detector often leaves behind. Knowing the tool groups colors and draws region borders explains why a photo with a clear subject and distinct color areas outlines so much better than a soft, low-contrast one.
Step 3: Set the Detail Level
The detail level is the master control. It sets how many color regions the photo is divided into — which in turn decides how many outlines end up on the page. This is a balance:
- Low detail keeps only a few large regions, giving a clean, simple page with big open areas. This is ideal for young children, who need large regions and few lines.
- High detail splits the image into many smaller regions, capturing texture like fur, foliage, and facial features. This suits older kids and adults who enjoy intricate "adult coloring book" pages — but pushed too far it turns fine texture into distracting noise.
Start in the middle, look at the preview, and adjust. If the page looks empty and loses the subject, raise the detail; if it looks like a scribbled mess, lower it. Matching the detail level to the person who will color it is the single most important choice you make.
Step 4: Tune the Line Thickness
Thin, delicate lines look elegant on screen but can be a problem in practice. Two forces push you toward thicker lines. First, young children color outside thin lines and need bold boundaries to aim for. Second, home printers and photocopiers can break up hairline strokes, leaving gaps that make regions bleed into each other. A good generator lets you thicken the outlines so every region is fully enclosed. As a rule of thumb: thicker lines for younger colorers and for pages you will photocopy in bulk; thinner lines for detailed adult pages printed once on a good printer.
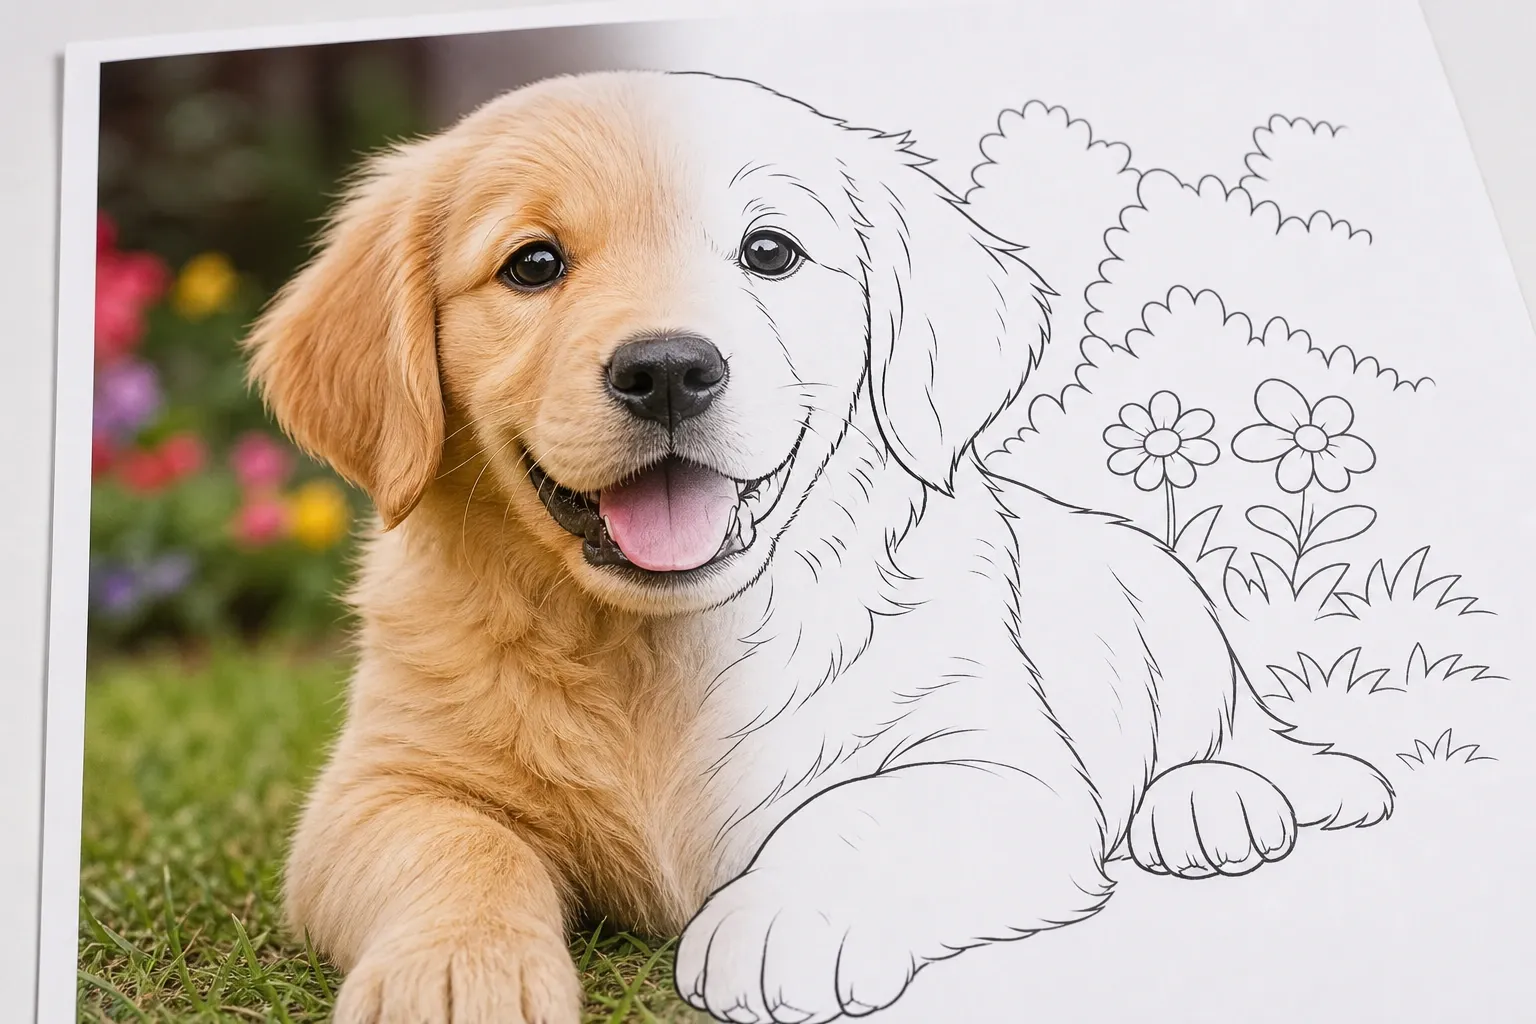
Matching the Page to Who Will Color It
The single biggest difference between a page a toddler loves and one an adult finds satisfying is complexity, and you control that with the detail level and line thickness together. Think of three broad audiences:
- Toddlers and preschoolers (roughly 2–5): keep detail low and lines thick. You want a handful of large, clearly enclosed regions — a whole animal, a simple flower, a smiling face — so that even wild scribbling lands "inside." Fine texture only frustrates small hands.
- School-age children (roughly 6–10): a medium detail level adds recognizable features — spots on a dog, petals on a flower, windows on a house — while still leaving room to color freely. Medium line thickness keeps regions honest without looking heavy.
- Teens and adults: push the detail up and the lines down for intricate "adult coloring book" pages full of texture — fur, foliage, architectural detail — that reward patient shading with pencils or fine markers.
The same photo can produce all three pages just by changing two sliders, which makes the tool handy for a family or a classroom: one source image, several difficulty levels, everyone coloring the same subject at their own level.
Great Photos to Try First
If you are not sure what to convert, a few categories almost always work. Pets are the perennial favorite — a dog or cat against a plain floor or wall outlines cleanly and means something to the colorer. Single flowers or plants give bold, organic shapes with satisfying interior detail. Vehicles — a car, a tractor, an airplane — have strong straight edges that trace beautifully and delight younger kids. Simple portraits work if the face is well lit and cropped close, though they demand more careful detail tuning than animals or objects. Avoid, at least at first, crowded group photos, low-light shots, and busy landscapes; they hide their edges and produce noisy pages.
Step 5: Preview, Then Print
Nothing in the pipeline is random, so within one browser the same photo and settings always produce exactly the same page — which is what lets you compare two detail levels side by side and trust that only the setting changed. Do that comparison in a single browser, though: the photo is decoded and scaled by the browser itself before the segmentation runs, and browsers do not resample identically, so the same photo opened in Chrome and in Firefox can land on slightly different region counts. When the preview looks right, export as a crisp, resolution-independent file so the lines stay sharp at any print size — a single sheet, a full page, or a poster. A few practical printing tips:
- Print at "actual size" / 100%, not "fit to page," so line thickness prints as intended.
- Use plain paper for crayons and colored pencils; slightly heavier paper if the kids will use markers that bleed through.
- Make several copies before anyone starts — the same page is a hit more than once, and mistakes happen.
Troubleshooting: Common Problems
If the page is not working, change one control at a time:
- Too busy / scribbly: lower the detail level and/or start from a simpler photo.
- Too empty / subject disappears: raise the detail level, or increase contrast in the source photo before converting.
- Regions won't stay separate: increase line thickness so outlines fully enclose each area.
- Speckled background: crop tighter or choose a photo with a plainer backdrop.
Changing one thing at a time makes it obvious which adjustment helped, and it usually takes two or three tries to land on a page you love.
Why Do This in the Browser?
Because your photo never has to leave your device — which is exactly what you want when the photo is of your own children, family, or pets. The entire conversion — color segmentation, region tracing, and line rendering — runs locally using standard web technologies, so nothing is uploaded, and the tool even works offline once the page has loaded. There is no account, no watermark, and no upload.
Related Craft Projects
A coloring page is one of several things you can make from the same photo. For a numbered painting activity instead of freeform coloring, turn the picture into a paint-by-numbers template. For a handmade keepsake, our Cross-Stitch Pattern and Diamond Painting generators turn the same photo into thread and drill charts with real DMC color codes. And for a retro, blocky look, the Pixel Art Generator reduces your photo to a crisp sprite.
Conclusion
A great coloring page comes from finding the right edges: a strong, simple photo, a detail level matched to whoever will color it, and line thickness that survives your printer and your crayons. It is not about removing color — it is about drawing the boundaries cleanly and leaving the inside white. Start with a bold subject, set the detail in the middle, thicken the lines for younger kids, and adjust one control at a time. When you are ready, open the Coloring Page generator and turn one of your own photos into a printable page — right in your browser.