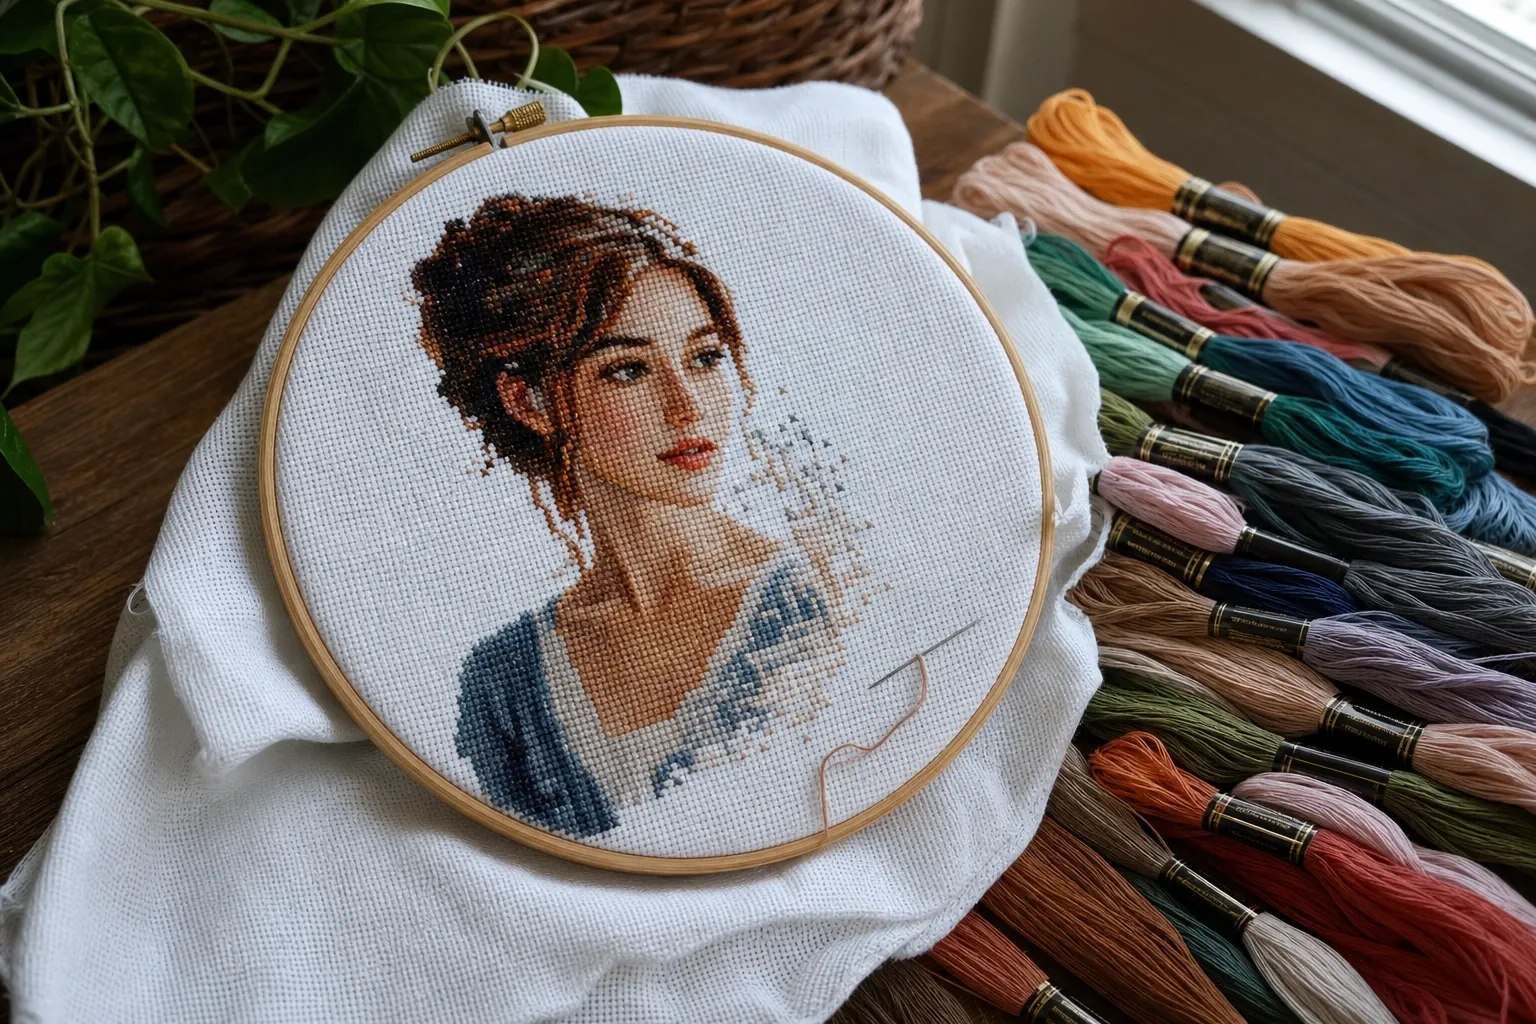
From Photograph to Thread Grid
A cross-stitch pattern is a grid where every square becomes a single X made of embroidery floss. Turning a photo into one is a problem of deliberate reduction: a photograph holds millions of subtly different colors on a continuous surface, while a chart holds a few dozen flat colors arranged on a coarse grid you can actually stitch by hand. Getting a good result is not about a magic filter — it is about making three decisions well: how big the grid is, how many colors it uses, and which real threads those colors map to.
This guide walks through each decision so you can go from a favorite photo to a printable chart with a matching floss list, and understand every choice along the way. If you want to follow along with your own images, our free Cross-Stitch Pattern generator runs this whole pipeline in your browser — your photo is never uploaded to a server.
Step 1: Pick the Right Photo
The input matters more than any setting. Because you are discarding almost all of the detail and keeping only what reads at the scale of whole stitches, simple, bold photographs convert far better than busy ones. Look for a clear single subject — a face, a pet, a flower, a landmark — with strong contrast against an uncluttered background. Crop tightly so the subject fills the frame; at a 100-stitch-wide grid, every square is precious, and a subject lost in a wide shot will simply disappear into noise.
Portraits are the most rewarding and the most demanding. Faces rely on smooth, gradual shading, and a coarse grid can turn that shading blocky. If you plan to stitch a portrait, favor a higher stitch count and a soft, evenly lit source photo. For a deeper look at the specific challenges of faces, our companion piece on paint-by-numbers portraits covers the same shading problems from the painting side.
Step 2: Choose the Stitch Count
The stitch count is how many stitches wide and tall your pattern will be. This is the resolution of your chart, and it drives everything about the final piece: detail, difficulty, and finished size. A small count such as 60 to 80 stitches gives a chunky, iconic look that stitches quickly but loses fine features. A large count such as 150 to 250 stitches preserves detail and shading but multiplies both the stitching time and the number of colors you will manage.
Under the hood, a good converter does not simply grab one source pixel per stitch. It averages every source pixel that falls inside each grid cell, so each stitch's color represents the whole region it covers instead of a single noisy sample. A reliable starting point for a first project is around 100 stitches on the longest side. Convert once, look at the result, and only then decide whether to go chunkier or more detailed.
Step 3: Do the Fabric Math (Aida Count)
Here is the part that surprises first-time stitchers: your stitch count does not set the finished size — the fabric does. Cross-stitch fabric is measured in "count," meaning how many stitches fit in one inch. Standard Aida cloth comes in 11, 14, 16, and 18 count, and 14-count is the classic beginner choice because the holes are easy to see.
The finished dimension is simple arithmetic:
- Finished size (inches) = stitch count ÷ fabric count.
- A 140-stitch-wide design on 14-count Aida is 140 ÷ 14 = 10 inches wide.
- The same 140 stitches on 18-count Aida is 140 ÷ 18 ≈ 7.8 inches wide — smaller and finer.
So the higher the fabric count, the smaller and more detailed each stitch, and the more your eyes (and lighting) have to work. Always add a margin of at least 2 to 3 inches of extra fabric on every side for framing or hooping. Decide your target finished size first, then let that choose your fabric count and stitch count together rather than discovering after 40 hours that your piece is the size of a poster.
Step 4: Set the Number of Colors
Color count is the trade-off at the heart of cross-stitch. Every extra color adds realism but also adds a physical skein of floss to buy, a symbol to track on the chart, and a needle to re-thread. Beginners are happiest around 15 to 25 colors; ambitious portraits may use 40 or more. Fewer colors force cleaner shapes and read boldly from across a room; more colors capture gradients and skin tones but demand patience and good chart-reading.
The colors themselves are chosen by color quantization — reducing the photo's palette to your chosen number of representative colors. A good tool performs this clustering in the CIELAB color space rather than raw RGB. CIELAB is designed so that the numerical distance between two colors approximates how different they look to the human eye, so "nearest color" genuinely means nearest to your perception. The practical payoff is that skin tones stay lifelike and skies stay smooth instead of banding into odd hues. If you want the full reasoning behind color counts, our guide on how many colors to use applies the same logic to charts.
Step 5: Match to Real DMC Floss
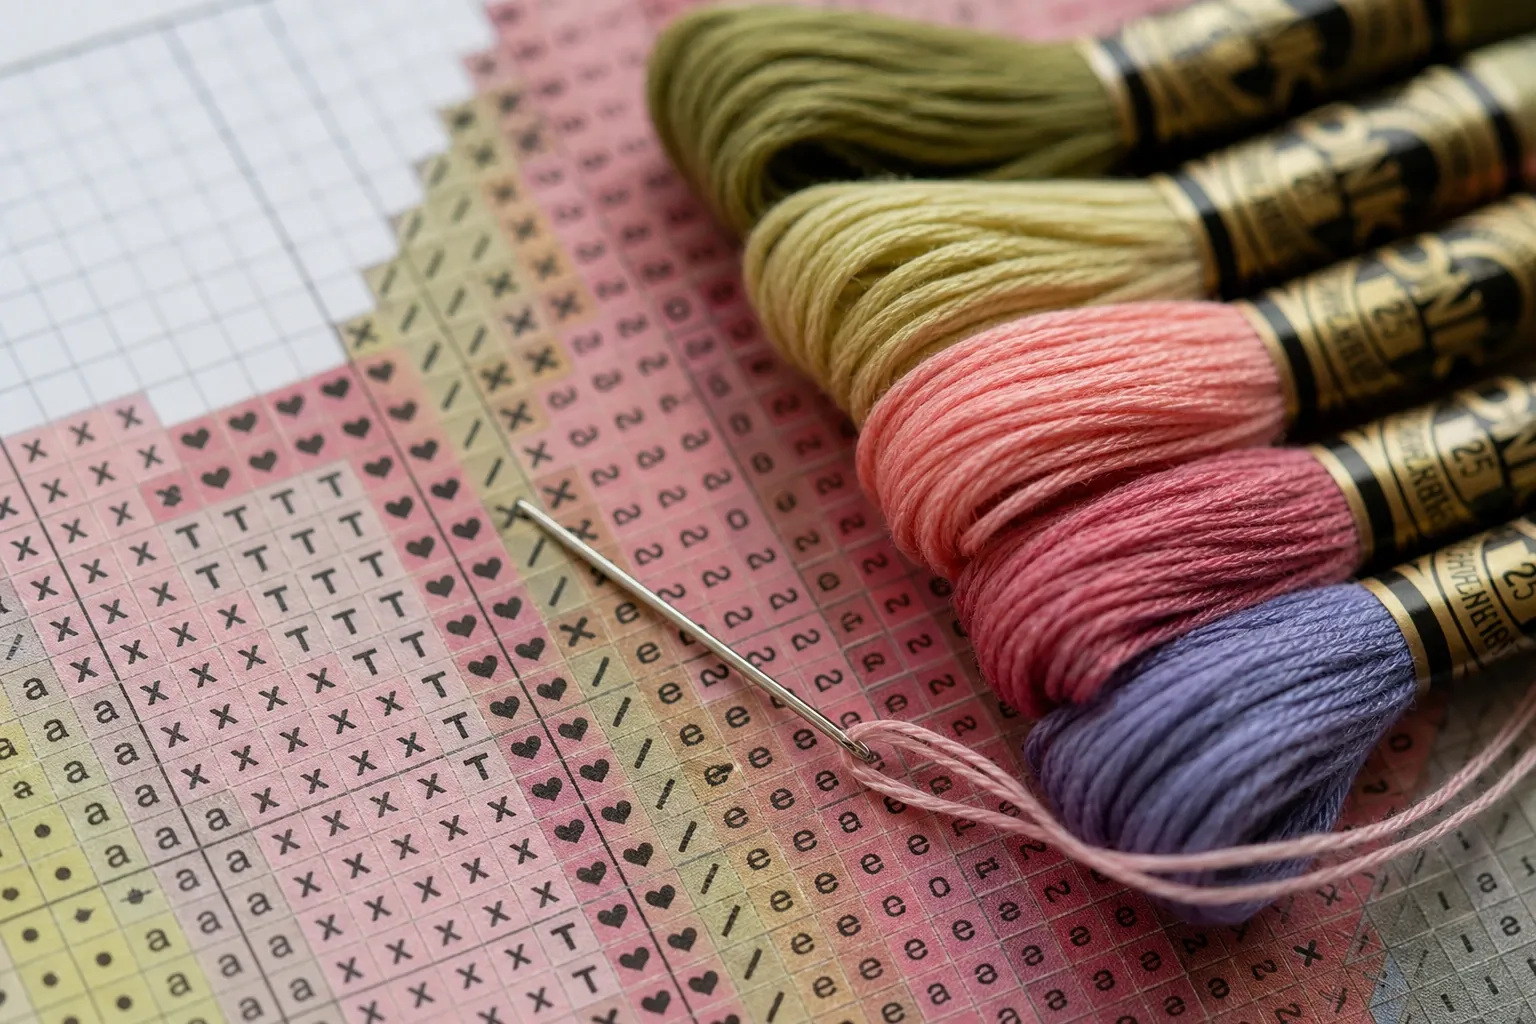
A pattern is only useful if you can actually buy the thread. DMC is the most widely stocked embroidery floss brand, and every shade carries a number (such as 310 for black or 817 for coral red). The tool maps each quantized color to the nearest shade in a curated subset of that chart — around ninety colors spread across the spectrum, not the full DMC range — so the codes it prints are common, easy to source shades rather than obscure ones. The match is computed in CIELAB, so the recommended skein looks as close as possible to the color in your photo rather than merely close in raw RGB numbers. Because the subset is deliberately coarse, a very subtle shade in your photo may land on a slightly different DMC number than a full-catalog match would choose; if a specific shade matters to you, compare the legend's hex value against DMC's own color card before ordering.
The generated chart gives you a legend: each symbol on the grid paired with its DMC number and an approximate stitch count for that color, so you can estimate how many skeins to buy. A standard six-strand skein covers a lot of stitches, but always round up — running out of a discontinued dye lot mid-project is a stitcher's classic heartbreak. Most portraits use two strands of floss for full coverage on 14-count Aida.
Step 6: Read and Export the Chart
Color alone is hard to follow stitch by stitch, so charts use symbols: each color gets a distinct printable symbol placed in its grid squares. This lets you print in black and white, work under any lighting, and never confuse two similar shades. Our export draws bold ruler lines every ten squares with edge coordinates alongside them, so you can always count your position back from a known number, and it prints the DMC legend on the same sheet. It does not mark the center for you, so if you prefer the standard drift-proof habit of starting from the middle, count it once on the printed chart and mark it yourself before your first stitch.
Export as a crisp, resolution-independent file so the grid prints sharp at any size — from a single sheet to a large tiled chart for a big design. Nothing in the conversion is random, so within one browser the same photo and settings always produce exactly the same chart, which makes it easy to compare two color counts before you commit thread and time. Run that comparison in a single browser: your photo is decoded and scaled by the browser before the colors are chosen, and browsers do not resample identically, so the same photo can yield a slightly different palette in Chrome than in Firefox.
Troubleshooting: When the Chart Looks Muddy
If your first attempt looks murky or unrecognizable, change one control at a time:
- Raise the stitch count if the subject has become unreadable — faces especially need resolution.
- Reduce the color count if the image feels flat and noisy; fewer colors force clean edges and often read better.
- Crop tighter so the subject fills more of the grid.
- Increase contrast in the source photo before converting if everything is a similar mid-tone.
Changing one thing at a time makes it obvious which adjustment helped, and it usually takes two or three tries to land on a chart you love.
Why Do This in the Browser?
Because your photo never has to leave your device. The entire conversion — downsampling to the stitch grid, color quantization, and DMC matching — runs locally using standard web technologies, so personal portraits of family and pets stay private, and the tool even works offline once the page has loaded. There is no account, no watermark, and no upload.
Related Craft Patterns
Cross-stitch is one of several handmade formats you can generate from the same photo. If you prefer resin drills to floss, our Diamond Painting generator maps your image to a DMC-coded drill grid instead. For a relaxing no-thread project, turn the same picture into a printable coloring page. And for a retro, blocky aesthetic, the Pixel Art Generator uses the identical grid-and-palette engine described here.
Conclusion
A great cross-stitch pattern comes from three deliberate decisions: a stitch count that keeps your subject readable, a color count you are willing to actually stitch, and real DMC threads matched by how they look rather than by raw numbers — with the fabric count quietly deciding your finished size. Start with a strong, simple photo, begin around 100 stitches and 20 colors, do the Aida math before you buy fabric, and adjust one control at a time. When you are ready, open the Cross-Stitch Pattern generator and turn one of your own photos into a chart — right in your browser.