Why Make a Custom Paint by Numbers From Your Own Photo
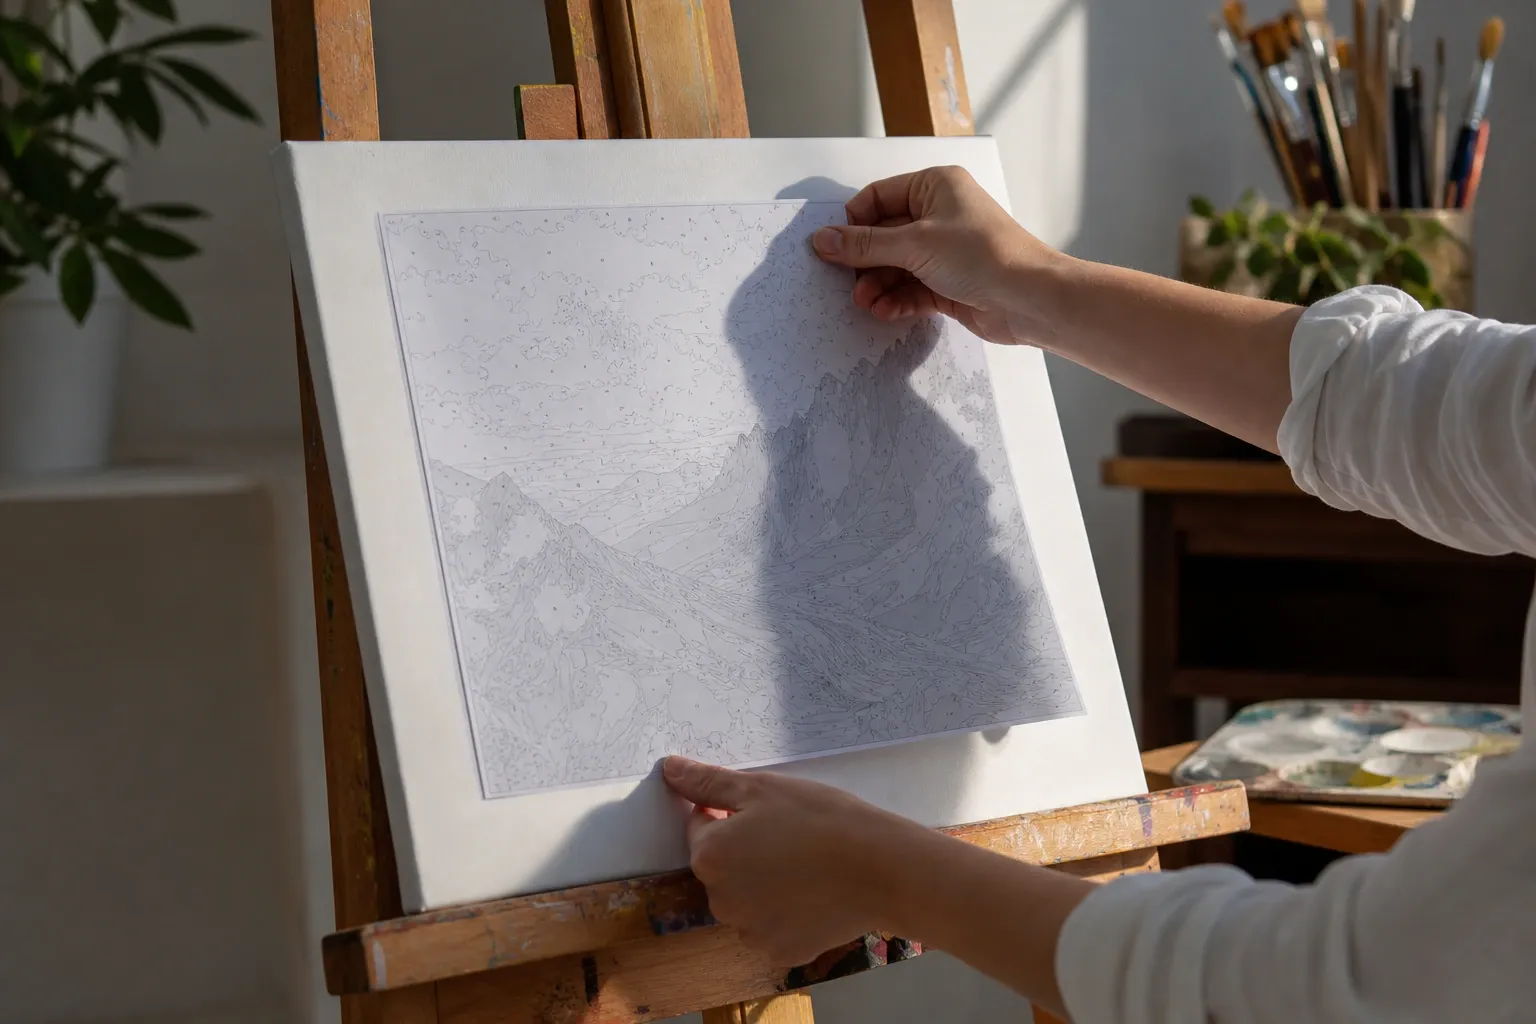
Store-bought paint-by-numbers kits are fun, but a template made from your own photo is something else entirely: a wedding portrait, a pet, a favorite landscape, or a childhood photo, turned into a piece you paint yourself. It makes a genuinely personal gift, a relaxing weekend project, and a keepsake with a story. The good news is you do not need special software or a paid service. This guide walks through the whole process using the free, browser-based Paint by Numbers Generator, which does everything on your device so your photos never leave your computer.
Step 1: Choose a Photo That Will Convert Well
Not every photo makes a good template. The conversion simplifies your image into flat color regions, so images with clear shapes and good contrast work best. Look for:
- A clear subject. A face, a pet, a building, or a single focal point beats a cluttered scene.
- Good lighting and contrast. Even, directional light gives the tool distinct tones to separate. Flat, foggy, or very dark photos produce muddy templates.
- A simple background. Busy, textured backgrounds (dense foliage, crowds, brickwork) fragment into many small regions. A plain or blurred background keeps the template clean.
- Reasonable resolution. A sharp photo gives cleaner edges. You do not need a huge file — the tool works on a moderate resolution — but avoid tiny, blurry images.
Portraits taken against a plain wall, pets on grass, and landscapes with a strong horizon are all reliable choices.
Step 2: Upload and Start From the Recommended Count
Open the generator and drop your photo in. It processes the image and offers a "Recommended" color count you can apply with one click. Be clear about what that number is: it is a fixed default of 24, the same for every photo, chosen because 24 is enough to stop faces collapsing into flat patches. It is not a measurement of your particular image, so treat it as a starting line rather than an answer — the next step is where you actually decide.
Under the hood, the tool groups your photo's colors with k-means clustering in a perceptual color space, so each palette color is a true average of the pixels it represents. If you are curious how that works, our companion article explains how paint-by-numbers generators work in plain language.
Step 3: Dial In the Color Count
Now experiment. Use the preset buttons or the custom field to try a few counts. As a general guide, 6–10 colors suits most photos, 12–18 works for detailed portraits printed large, and 2–4 gives a bold, easy, poster-like result. Resist the urge to max it out: on most photos, too many colors looks muddier and busier, not more detailed. For a deeper discussion, see our guide on how many colors a paint by numbers should have.
If a higher count looks noisy, turn on Vividness (to keep the colors distinct) and Smooth edges (to flatten photographic texture). Together they make higher counts much cleaner.
Step 4: Choose Your View and Outlines
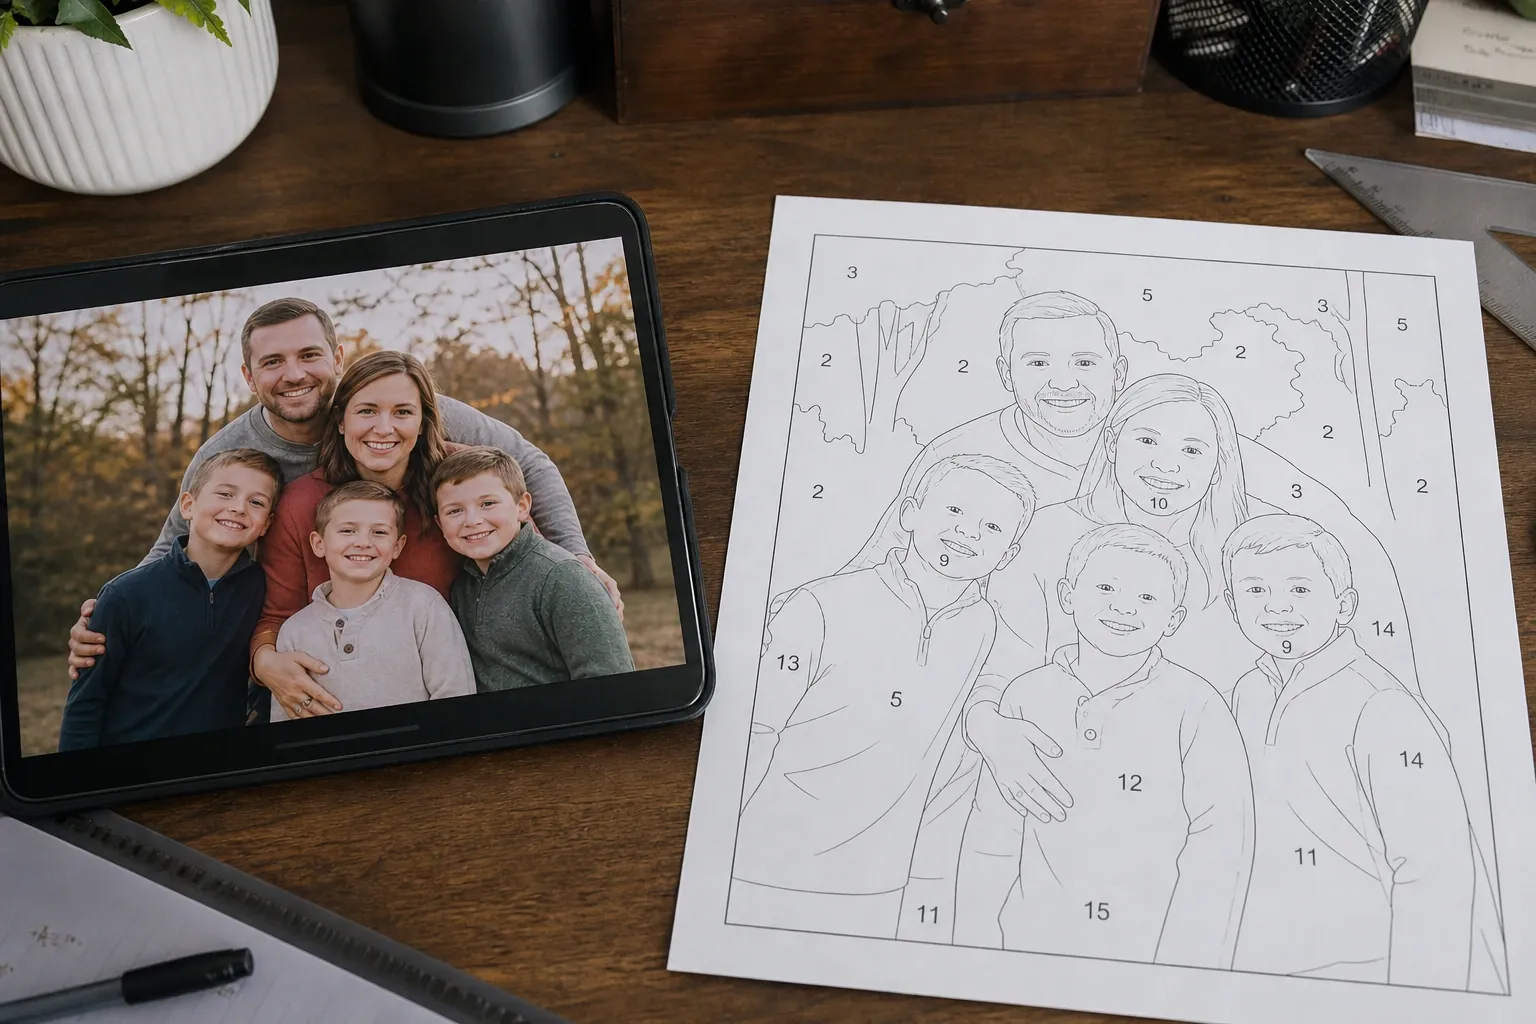
The tool offers two views. The colored view shows a posterized preview of your painting's final look — useful for judging the palette. The numbered black-and-white view is the actual template you paint from: white regions, black outlines, and a number in each area matching the color legend. You can also toggle region outlines on or off in the colored view. Switch between views freely; it does not re-process the image.
Step 5: Download the Template
Download the numbered template as SVG whenever you can. SVG is a vector format, so it prints perfectly crisp at any size — from an A4 sheet to a wall-sized canvas — with no blur or pixelation. A PNG is also available if you need a quick raster image. The download includes the numbered color legend so you know exactly which paint goes in each region.
Step 6: Print, Transfer, and Paint
- Print at your canvas size. Because the SVG scales cleanly, print the template to match the canvas you will paint on. Larger prints make the small numbered regions much easier to fill.
- Print the legend. Keep the numbered color key beside you so you can buy or mix matching paints. The legend lists each number with its exact hex color.
- Transfer to canvas (optional). You can paint directly on the printed template, or transfer the outlines to a blank canvas using graphite transfer paper or a lightbox.
- Match your paints. Acrylics are the easiest for beginners. Mix to match each legend color, or buy a set close to your palette.
- Paint light to dark, or dark to light. Work one number at a time; painting all regions of a single color before moving on keeps things tidy and fast.
Tips for a Great Result
- Crop before you convert. Tighten the composition around your subject so the tool spends its colors where they matter.
- Simplify busy backgrounds. If the background fragments, lower the color count or choose a photo with a cleaner backdrop.
- Print a test at small size first. Confirm the numbers are legible and the regions are paintable before committing to a big canvas.
- Keep the digital preview. The colored view is your reference for how the finished piece should look.
Privacy: Your Photos Stay With You
Because the entire conversion runs in your browser, your photos are never uploaded to a server. That matters for family portraits, personal pictures, and anything you would not want stored by an online service. Nothing leaves your device — the only copy of your image stays on your computer.
Photo Ideas That Make Great Paintings
If you are not sure which photo to use, these subjects convert especially well and make memorable gifts:
- Pets. A dog or cat against grass, a rug, or a plain floor gives clear shapes and warm colors. Pet portraits are among the most popular custom paintings for a reason.
- Portraits and couples. A head-and-shoulders shot in even light, ideally against a simple background, captures skin tones and expression cleanly.
- Landscapes with a strong horizon. A beach, a field, or mountains at sunset separate naturally into sky, land, and a focal feature.
- Landmarks and buildings. Architecture has crisp edges and flat surfaces that translate into clean, satisfying regions.
- Milestone photos. A wedding, a new baby, a graduation, or a first home make deeply personal keepsakes when hand-painted.
Troubleshooting Common Conversion Problems
If your first result is not what you hoped, the fix is usually quick:
- The background is a busy mess. Lower the color count, turn on Smooth edges, or crop the photo tighter around your subject. A cleaner background photo helps most of all.
- The colors look muddy or washed out. Turn Vividness up to Vivid, or reduce the color count so the tool picks more distinct colors.
- Faces look flat or lose detail. Increase the color count a little and print larger, so skin tones get more shades and room to paint.
- Regions are too small to paint. Lower the color count and print at a bigger size. Small regions are almost always a symptom of too many colors on too small a print.
- The whole thing looks too simple. Add a few colors, but check the numbered view to make sure the new regions are still paintable.
Framing and Displaying Your Finished Piece
A hand-painted canvas deserves to be seen. If you painted on paper, mount it on foam board or slip it into a standard frame for a clean finish. If you used a stretched canvas, it is ready to hang as-is. A thin coat of matte or gloss varnish protects the paint and unifies the sheen once everything is fully dry. For a gift, pair the finished painting with the original photo in a matching frame — the before-and-after tells the whole story and makes the effort obvious. Because you kept the digital colored preview, you also have a perfect reference to photograph alongside the finished work.
How Long Does It Take to Make and Paint One?
Making the template is the fast part: uploading a photo, adjusting the color count, and downloading the SVG takes about five minutes once you know what you are doing. Printing and, if you choose, transferring to canvas adds another twenty minutes or so. The painting itself is where the time goes, and that depends entirely on your choices. A simple four-color template on a small canvas can be finished in a relaxed evening. A detailed twelve-color portrait on a large canvas is a project you might spread across several sittings — which is part of the appeal, since it gives you a calm, screen-free activity to return to. If you are painting as a gift and working to a deadline, keep the color count modest and the canvas medium-sized so you are not racing the clock. And because the generator is free and instant, there is no penalty for making a few test templates first to find the version you most want to spend those hours on.
Conclusion
Turning a photo into a custom paint-by-numbers canvas takes just a few minutes: choose a clear, well-lit photo, upload it, dial in a sensible color count, pick the numbered view, and download a scalable SVG to print at your canvas size. Whether it is a heartfelt gift or a relaxing project for yourself, the result is a painting only you could make. Start now with the free Paint by Numbers Generator.
References and Further Reading
- k-means clustering — the clustering algorithm behind Step 2's automatic palette, where each color is the true average of the pixels it represents.
- CIELAB color space — the perceptual color space the tool clusters in, designed to approximate perceived color difference (though not perfectly perceptually uniform).
- Color quantization — background on reducing a photo to a fixed palette, the process that determines the color count discussed in Step 3.
- SVG (MDN Web Docs) — documentation for the vector format recommended in Step 5, which prints crisp at any size from an A4 sheet to a wall-sized canvas.