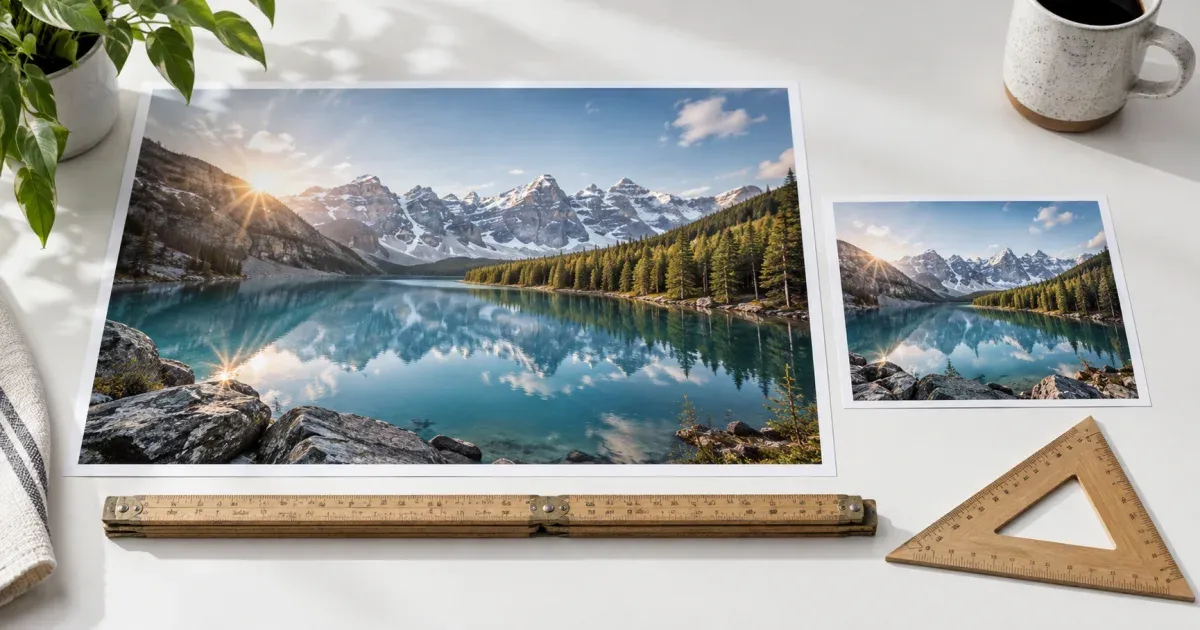
"Resize without losing quality" is one of the most searched image questions on the web, and it contains a small contradiction. Shrinking an image always discards pixels — that is what shrinking means. What people are really asking is how to end up with a smaller image that still looks right, and that turns out to be an answerable question with clear rules.
The visible damage that people call "losing quality" almost never comes from the resize itself. It comes from four specific mistakes: stretching, upscaling, choosing the wrong format, and re-compressing a lossy file. Avoid those and a downscaled image is essentially indistinguishable from the original at its new size.
What Happens When You Resize
A raster image is a grid of pixels. Reducing a 4000-pixel-wide photo to 1000 means every four source pixels across must become one output pixel. Something has to decide what colour that output pixel should be, and that something is the resampling algorithm.
Nearest-neighbour picks one of the four candidate pixels and throws away the rest. It is instant and preserves hard edges perfectly, which makes it the correct choice for pixel art and for scaling by exact integer factors. On a photograph it produces jagged, aliased edges and visible speckling in fine detail.
Bilinear interpolation averages the four nearest pixels, weighted by distance. Much smoother, slightly soft.
Bicubic interpolation considers a 4 × 4 neighbourhood and fits a smooth curve through it. This is the standard for photographic resizing and what desktop editors use by default. It preserves gradients and edges better than bilinear at a modest computational cost.
Browsers expose this through the canvas imageSmoothingQuality setting. When it is set to "high", a browser-based resize is doing essentially the same job as a desktop editor. This matters because it means a privacy-preserving, entirely local resize is not a quality compromise — the algorithm is the same one.
Mistake One: Stretching
The single most damaging thing you can do to an image is change its aspect ratio. A 4000 × 3000 photo is 4:3. Resize it to 1000 × 750 and it is still 4:3, just smaller. Resize it to 1000 × 1000 and every circle becomes an ellipse, every face is squashed, and no amount of sharpening will fix it.
This is why an aspect-ratio lock is the most important control in any resizer. With it on, you type one dimension and the other is computed from the source proportions. Turn it off only when you genuinely want distortion, which is almost never.
Note that "fit within 1000 × 1000" and "make it exactly 1000 × 1000" are different operations. Fitting scales the image until it sits entirely inside the box, so a 4:3 photo fitted to a 1000 × 1000 box becomes 1000 × 750 — the height comes out under the limit. Forcing exact dimensions either distorts the image or requires cropping. If a platform demands an exact square, crop first and resize second; do not stretch.
Mistake Two: Upscaling and Expecting Detail
Enlarging runs interpolation in reverse: one source pixel fills four output pixels, and the values between are invented by averaging neighbours. No detail is added, because none exists in the file. A 400 × 300 photo blown up to 1600 × 1200 has sixteen times the pixel count and precisely the same information, spread thinner. The eye reads that as softness.
You cannot recover what was never captured. This is why good resizers refuse to upscale unless you explicitly ask. Legitimate reasons to ask exist — meeting a fixed canvas requirement, printing at a set physical size, satisfying a system that rejects small files — but none of them make the image sharper.
AI upscalers are a genuinely different technique. Rather than interpolating, they generate plausible detail from a model trained on millions of images. The results can look remarkable, but the added detail is invented rather than recovered. For a holiday photo that is fine. For anything evidential — a document, a product shot, a medical or forensic image — invented detail is a serious problem, because the output asserts things the original never recorded.
Mistake Three: The Wrong Format
Format choice affects perceived quality more than most resize settings do.
- JPEG — lossy, no transparency. Correct for photographs. Its compression exploits the fact that human vision is poor at detecting small colour changes across smooth gradients, which is exactly what a photograph is made of. On flat colour and sharp text it produces visible ringing artefacts.
- PNG — lossless, supports transparency. Correct for screenshots, logos, line art, and anything with large flat areas or crisp edges. On a photograph it typically produces a file three to five times larger than JPEG for no visible gain.
- WebP — lossy or lossless, supports transparency, typically 25-35% smaller than JPEG at matched visual quality. Supported by every current browser including Safari 14 and later, which makes it the sensible default for web images today.
The classic quality complaint — "my logo looks blurry after resizing" — is almost always a PNG-should-have-been-used problem rather than a resize problem. JPEG artefacts cluster around exactly the sharp, high-contrast edges that logos and text are made of.
One conversion trap: JPEG has no alpha channel. Converting a transparent PNG to JPEG forces the transparent areas to be filled with a solid colour — usually white, sometimes black, depending on the tool. If your image relies on transparency, convert to WebP or stay with PNG.
Mistake Four: Re-Compressing a Lossy File
JPEG and lossy WebP discard information every time they encode. Open a JPEG, resize it, save it as JPEG, and you have compressed already-compressed data — the artefacts from the first pass become part of the image the second pass tries to preserve. Do this repeatedly and degradation accumulates visibly, a phenomenon known as generation loss.
Practical consequences:
- Always resize from the highest-quality original you have, not from a copy that has already been through a chat app or a social platform.
- Do all your edits, then export once. Do not save intermediate JPEGs.
- If you must iterate, keep a PNG or the camera original as your working master and export JPEG or WebP only at the end.
Quality Settings: Where the Curve Bends
The quality slider for JPEG and WebP does not behave linearly. The file size falls steeply at the top of the range while the visible difference stays negligible:
- 100 → 90: often more than half the file size removed, essentially no visible difference.
- 90 → 80: another meaningful reduction, very slight softening in fine texture.
- 80 → 70: smaller gains, artefacts start to appear in smooth gradients such as skies.
- Below 70: visible blocking around sharp edges; below 50 most images look obviously degraded.
For web delivery, 80-85 is the practical sweet spot for most photographs. Images with large smooth gradients (sunsets, studio backdrops) need a few points more; busy textured images tolerate a few points less. Quality settings do nothing at all for PNG, which is lossless by definition.
Choosing Target Dimensions
The right size is the size the image will actually be displayed at, multiplied by the pixel density you want to support. On the web:
- Full-width hero: 1600-2000 px wide covers high-density displays on most layouts.
- In-article image: 1000-1200 px is usually plenty.
- Thumbnail or avatar: 300-400 px.
Serving a 4000-pixel photograph into a 600-pixel slot forces every visitor to download several times more data than they need, and is one of the most common causes of poor Core Web Vitals scores. The browser will scale it down for display, so the visitor gets no benefit whatsoever from the extra pixels.
For print, work backwards from physical size at 300 DPI: a 6 × 4 inch print wants about 1800 × 1200 pixels. Below roughly 150 DPI the result looks soft on paper. Remember that the DPI figure stored in a file is metadata only — changing it without resampling changes nothing about the actual image.
A Privacy Note on Metadata
Photographs from phones and cameras carry EXIF metadata: camera model, exposure settings, timestamp, and frequently GPS coordinates. When an image is resized by being redrawn onto a canvas, the output contains pixels only, and all of that is dropped.
For sharing, this is usually a benefit — the location where a photo was taken does not travel with it. If you need EXIF preserved for cataloguing or copyright reasons, you need a tool that explicitly copies the metadata block across, because canvas-based resizing in any browser tool will discard it.
The Short Version
- Keep the aspect ratio locked. Crop if you need a different shape; never stretch.
- Downscale freely; upscale only when you have a specific requirement, and expect softness.
- JPEG or WebP for photographs, PNG for graphics and transparency.
- Resize from the best original you have, and export once.
- Quality 80-85 is the sweet spot for the web.
- Target the display size, not the largest size you happen to have.
Try It
Our image resizer applies all of this by default: the aspect ratio is locked, upscaling is off until you ask for it, and canvas smoothing is set to high quality. You can resize by exact pixels, by percentage, or from presets, convert between JPEG, PNG and WebP, and process up to 20 images at once with a ZIP download. Everything runs in your browser, so your images are never uploaded.
If your goal is a smaller file rather than smaller dimensions, the image compressor is the better starting point — it optimises compression while leaving the pixel dimensions alone, which is often all a slow page actually needs.