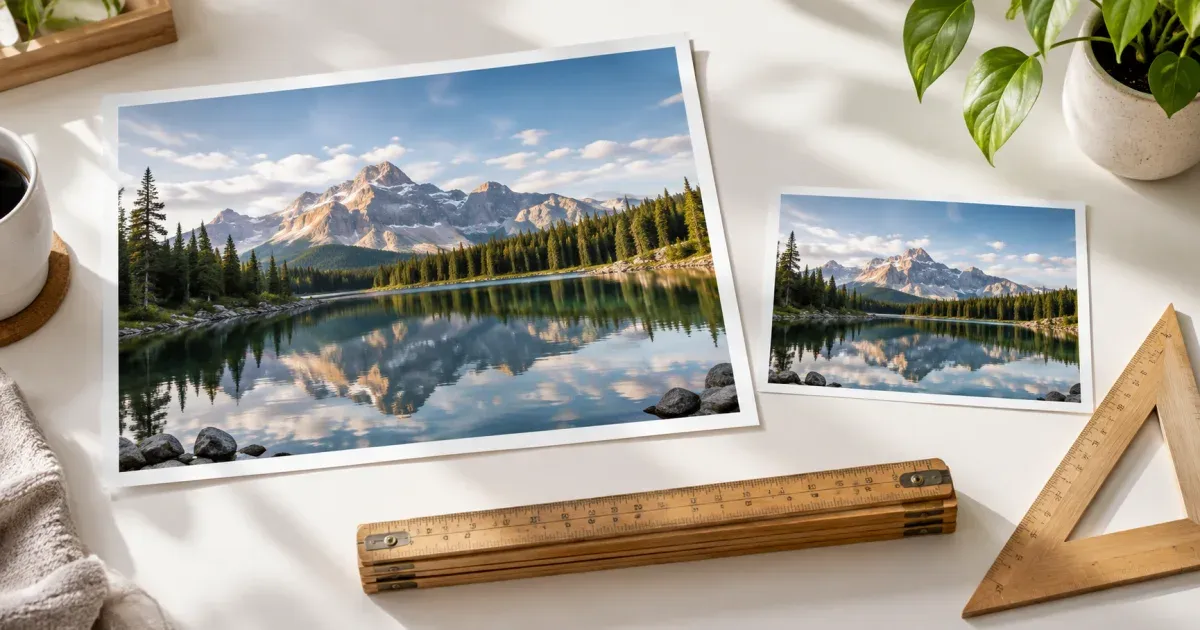
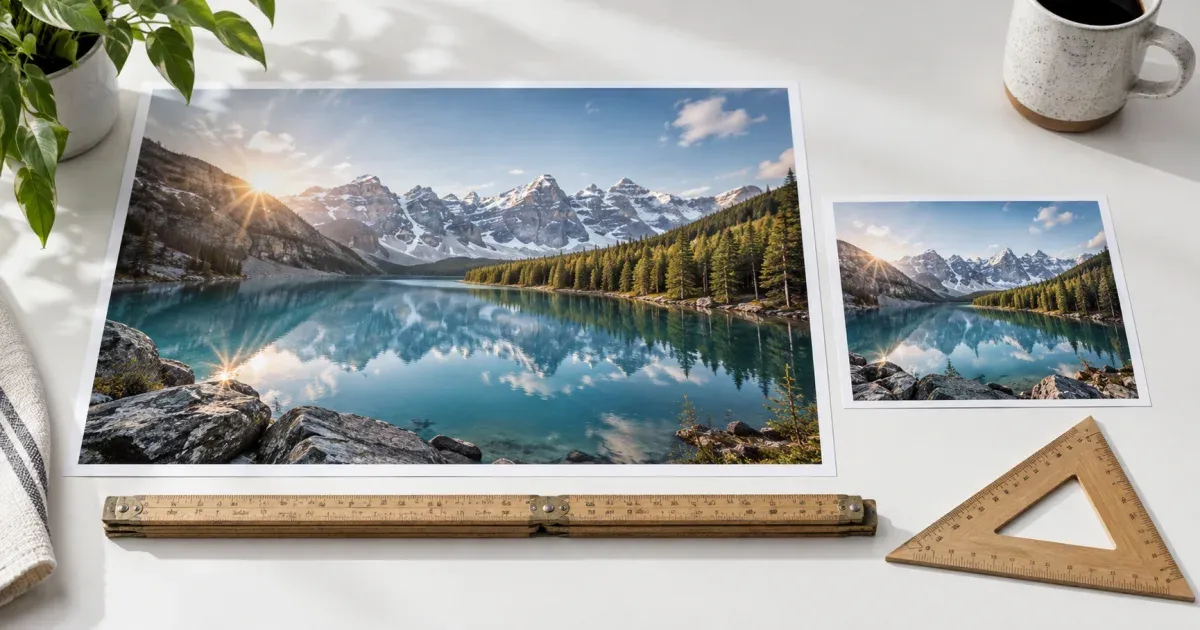
Resizing an image sounds like a single operation, but three separate decisions are hiding inside it: what dimensions to target, how to compute the new pixels, and what format to save the result in. Get any of them wrong and you end up with a stretched, soft, or unexpectedly enormous file. This guide covers what actually happens when an image is resized and how to choose settings that hold up.
Pixels, Dimensions and Aspect Ratio
A raster image is a grid of pixels — 4000 across and 3000 down, for example. The aspect ratio is the relationship between those two numbers, in this case 4:3. Resizing to 1000 × 750 preserves that ratio and simply samples the same picture onto a smaller grid. Resizing to 1000 × 1000 does not: the image must be squashed vertically to fit, and every face, circle and straight line in it is distorted.
This is why an aspect-ratio lock matters more than any other control. With it on, you supply one dimension and the other is computed for you. It is also why "fit within 1000 × 1000" and "make it exactly 1000 × 1000" are different requests: the first scales the longest side down until the whole image fits inside the box, leaving the shorter side smaller than the limit; the second forces both dimensions and distorts unless the source happens to be square.
What Resampling Actually Does
When you shrink an image from 4000 pixels wide to 1000, four source pixels have to become one. The algorithm that decides the value of that one pixel is the resampling method. Nearest-neighbour simply picks one of the four and discards the rest, which is fast and produces hard, aliased edges — appropriate for pixel art, terrible for photographs. Bilinear and bicubic interpolation average the surrounding pixels with increasing sophistication, producing the smooth results expected of photographic downscaling.
Browsers expose this through the canvas image-smoothing settings, and this tool requests the highest-quality option available. In practice that means downscaling a photo here looks equivalent to doing it in a desktop editor for anything short of extreme reduction ratios. If you are shrinking by more than about 4x in one step, editors that offer multi-step downscaling can retain marginally more detail, though the difference is rarely visible at normal viewing sizes.
Why Upscaling Cannot Add Detail
Enlarging works the same way in reverse: one source pixel has to fill four output pixels, and interpolation invents the values in between by averaging neighbours. No information is added, because none exists in the file. A 400 × 300 photo scaled to 1600 × 1200 has sixteen times as many pixels and exactly the same detail, spread more thinly — which reads as softness or blur.
This is why upscaling is disabled by default here and has to be switched on deliberately. It has legitimate uses: matching a required canvas size, printing at a fixed physical dimension, or preparing an asset for a system that rejects small files. But it never recovers detail, and it always increases file size. AI-based upscalers work differently — they hallucinate plausible detail from a trained model rather than interpolating — which is a genuinely different operation with genuinely different trade-offs, including invented detail that was never in the original.
Choosing an Output Format
- JPEG is lossy and has no transparency. It is the right choice for photographs, where its compression artefacts are hard to see and its files are small. Repeatedly saving a JPEG degrades it each time, so avoid round-tripping through it.
- PNG is lossless and supports transparency. It is right for screenshots, logos, line art and anything with flat colour or sharp edges. On a photograph it typically produces a file several times larger than JPEG for no visible benefit.
- WebP is lossy or lossless, supports transparency, and generally beats JPEG by 25-35% at the same visual quality. It is supported by every current browser, including Safari from version 14, so it is now a safe default for the web.
One conversion trap is worth knowing: JPEG has no alpha channel, so a transparent PNG converted to JPEG must have its transparent areas filled with something. This tool fills them with white, which is usually what people expect. If your image has meaningful transparency, convert to WebP or keep PNG instead.
Quality Settings and Diminishing Returns
The quality slider for JPEG and WebP controls how aggressively detail is discarded. The relationship between the number and the file size is steeply non-linear. Dropping from 100 to 90 typically removes more than half the file size while being essentially indistinguishable to the eye. Dropping from 90 to 80 saves a further useful chunk with minor softening in fine texture. Below about 70, artefacts around sharp edges and in smooth gradients become visible, and below 50 most images look obviously degraded.
For most web use, 80-85 is the sweet spot, which is why this tool defaults to 85. Quality has no effect on PNG output, which is lossless by definition — the slider is simply ignored for that format.
Sizing for the Web and for Print
Screen images are measured in pixels, and the practical question is how large the image will be displayed. A full-width hero on a typical site needs around 1600-2000 pixels wide to look sharp on high-density displays; a blog body image rarely needs more than 1200; a thumbnail needs 300-400. Serving a 4000-pixel photo into a 600-pixel slot wastes bandwidth on every visitor and is one of the most common causes of poor page-speed scores.
Print is measured in physical size at a given resolution, conventionally 300 dots per inch. A 6 × 4 inch print therefore wants roughly 1800 × 1200 pixels. Below about 150 DPI the result looks visibly soft on paper. Note that the DPI value stored in an image file is only metadata — it does not change the pixels, and changing it without resampling changes nothing about the image itself.
What Happens to Metadata
Because this tool redraws your image onto a fresh canvas, the output contains only pixels. EXIF metadata — camera model, exposure settings, timestamps, and any GPS coordinates recorded by a phone — is not carried across. For most people that is a privacy benefit: resized images can be shared without the location where the photo was taken travelling with them. If you specifically need to preserve EXIF, resize with a tool that copies the metadata block explicitly, because canvas-based resizing in any browser tool will drop it.