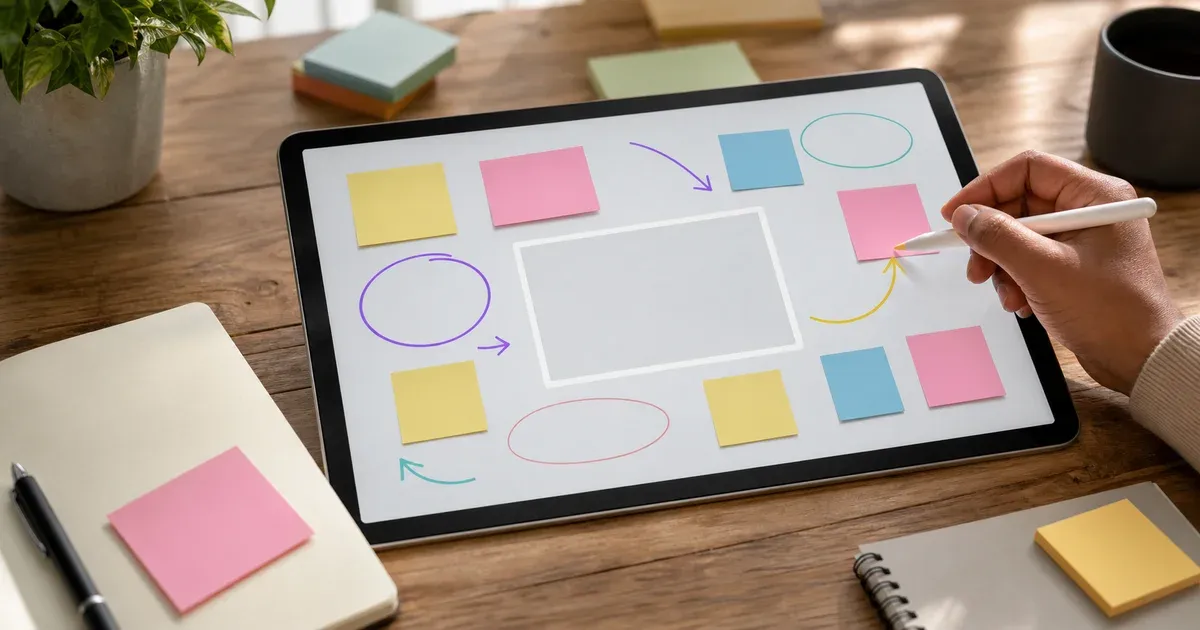
A blank whiteboard is one of the most versatile thinking tools ever invented. It invites you to externalize an idea, connect it to another, cross something out, and start again — all faster than you could describe it in words. An online whiteboard brings that same freedom to any device with a browser, and adds superpowers a physical board never had: undo, perfect shapes, imported images, and one-click export. This guide walks through how to actually use one well — for brainstorming, for diagrams, and for annotating screenshots — and how to get a clean file out at the end.
Why an Online Whiteboard Beats Pen and Paper (and Slides)
Paper is fast but fragile: you cannot move a box, un-draw a line, or share the result without a photo. Slide software is precise but slow — every shape is a fight with alignment guides and menus. A whiteboard sits in the sweet spot between the two. It is fast enough to keep up with a live conversation, yet structured enough that the output is worth keeping. Because a good online board runs entirely in your browser, there is no upload step and no account: you open a tab and start drawing, and the work stays on your device.
That combination matters most in the messy early stage of any project, when ideas are still forming. You do not want a tool that forces decisions about fonts and spacing before you even know what you are building. You want to sketch, point at things, and rearrange — which is exactly what a board is for.
Meet the Toolbar: Pen, Highlighter, Shapes and Text
Most of a whiteboard's power comes from a handful of tools you will use constantly. It helps to know what each one is best at.
The Freehand Pen
The pen is your default. Use it for quick sketches, arrows drawn in the heat of the moment, circling something for emphasis, or writing a word by hand. Freehand strokes feel natural because the board smooths the raw pointer movement into a rounded line, so a slightly shaky hand still produces a clean stroke. Keep the pen thin for notes and thicker for headlines.
The Highlighter
The highlighter lays down semi-transparent color, so whatever is underneath still shows through. That makes it perfect for emphasis: sweep it across a key phrase, shade a region of a diagram, or mark the two boxes that matter most. Because it does not hide content, you can highlight aggressively without destroying the drawing beneath it.
Auto-Shapes
When your sketch turns into something you want to keep, switch to auto-shapes. Rectangles, rounded rectangles, ellipses, lines, arrows, triangles and diamonds snap into clean geometry that freehand cannot match. Crucially, these shapes remain editable objects: you can select a box and move it, re-point an arrow, or delete a step without redrawing the whole picture. That editability is what turns a rough doodle into a real diagram.
Text and Images
Type labels directly onto the board to name a box or add a caption. And when a picture is worth a thousand strokes, import an image — a screenshot, a photo, a logo — and draw on top of it. Text and images are objects too, so you can reposition them freely as the layout evolves.
A Brainstorming Session, Step by Step
Here is a simple flow that works for most brainstorms, whether you are alone or screen-sharing with a team.
Start with a central idea. Drop an ellipse in the middle of the board, type the topic inside it, and give it a bold color. This anchors everything else.
Radiate outward. As ideas come, add them around the center as small boxes or handwritten words. Do not worry about order yet — capture first, organize later. Use arrows to connect related thoughts as the connections occur to you.
Cluster and color. Once you have a spread of ideas, group the related ones by dragging them near each other and giving each cluster its own color. Color is a fast, pre-verbal way to signal "these belong together," and it makes the board readable at a glance.
Prune without fear. This is where an online board shines. Select a weak idea and delete it; if you change your mind, undo brings it right back. The freedom to remove things is what keeps a brainstorm honest — on paper, people leave dead ideas up simply because erasing is annoying.
Export the result. When the session ends, save the board so the thinking is not lost. Export a PNG to paste into a chat or doc, or save the editable scene so you can pick up exactly where you stopped.
Drawing Clean Diagrams and Flowcharts
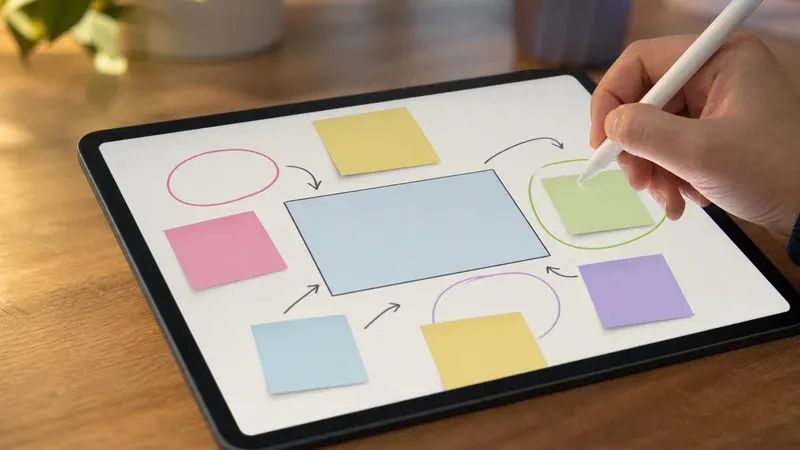
Diagrams are where auto-shapes earn their keep. A flowchart is just boxes (steps), diamonds (decisions) and arrows (flow), so build it from those primitives. A few habits make the result look professional:
- Keep shapes consistent. Use the same size and color for the same kind of element — all process steps one color, all decisions another. Consistency reads as intentional.
- Let arrows do the talking. Direction matters in a flowchart; arrows (not plain lines) show which way the process moves. Because arrows stay editable, you can re-point them as the logic changes.
- Label decisions. Add short text like "Yes" and "No" next to the arrows leaving a diamond so the branches are unambiguous.
- Leave whitespace. Crowded diagrams are hard to follow. Space boxes generously; you have an infinite-feeling canvas, so use it.
The same building blocks cover org charts, system architecture sketches, mind maps, wireframes and swimlane diagrams. Once you are comfortable with boxes, arrows and text, most diagram types are just variations on a theme.
Annotating Screenshots and Images
One of the most practical uses of a whiteboard has nothing to do with brainstorming: marking up an image. Import a screenshot, then use the tools to point out what matters. Draw a red ellipse around a bug, add an arrow to the button that should move, drop a text note explaining a change, or highlight the section under discussion. This turns a vague "the thing in the corner" into a precise, shareable instruction.
Because annotations are separate objects layered over the image, you can adjust or remove them without harming the original. When you are done, export a PNG and send it — the reviewer sees exactly what you meant. This workflow is invaluable for design feedback, bug reports, tutorials and support requests.
Exporting: Pick the Right Format
A board is only useful if you can get it out cleanly. Different formats suit different jobs:
- PNG is the everyday choice — a raster image you can paste anywhere. Use a larger or print-resolution size if the board will be printed or projected.
- SVG keeps your shapes and text as true vectors, so a diagram scales to any size without blurring and can be edited later in a vector program. Choose SVG for anything you might enlarge or embed in a document.
- PDF gives you a single printable page — handy for handouts or attaching to an email.
- JSON saves the editable scene itself. This is the one to keep for work in progress: reopen the file and every shape, stroke and image is exactly where you left it.
A good habit is to export two files when a board matters: a PNG for quick sharing and a JSON so the board is never a dead end. And because a whiteboard is naturally something you return to, an autosave that restores your last board on your next visit means an interrupted session is rarely lost.
Getting the Most From the Canvas
A few small habits compound into a much smoother experience:
- Learn the shortcuts. Single keys switch tools and the usual undo/redo chords reverse mistakes, so your hands stay on the drawing instead of the menus.
- Go fullscreen to focus. When you want to concentrate, expand the board to fill the screen and let the toolbar fade into the background of your attention.
- Draw for the reader. If a board will be shared, spend the last minute cleaning up — align a few boxes, straighten an arrow, remove stray marks. Small polish makes a big difference in how the idea lands.
- Keep it private by default. Because everything runs locally, sensitive sketches never leave your device. That is worth remembering when the whiteboard holds early product plans or a customer's screenshot.
When to Reach for a Whiteboard (and When Not To)
A whiteboard is not the right tool for every job, and knowing its limits keeps you fast. It shines when the thinking is still fluid: exploring options, sketching a rough structure, explaining an idea to someone, or marking up an image. In those moments its speed and forgiving nature are exactly what you need, and the informal, hand-drawn look actually helps — it signals "this is a draft, push back on it" rather than "this is final."
Once an idea is settled and needs to become a polished deliverable — a formal diagram for documentation, a slide for a client, a chart with exact data — it is usually worth moving to a dedicated tool built for that output. A good workflow treats the whiteboard as the first stage: think and explore here, then rebuild the finished version elsewhere if the audience demands precision. Many ideas, of course, never need that second step; a clear hand-drawn board is often all a teammate needs to understand what you mean. The skill is recognizing which stage you are in and not over-polishing a board that was only ever meant to spark a conversation.
Start Drawing
The best way to understand a whiteboard is to use one. Open the online whiteboard, pick up the pen, and sketch whatever is on your mind — a plan, a diagram, a problem you are stuck on. Add a few shapes, connect them with arrows, and when it starts to make sense, export it. The tool stays out of the way so the thinking can happen, and nothing you draw ever leaves your browser.