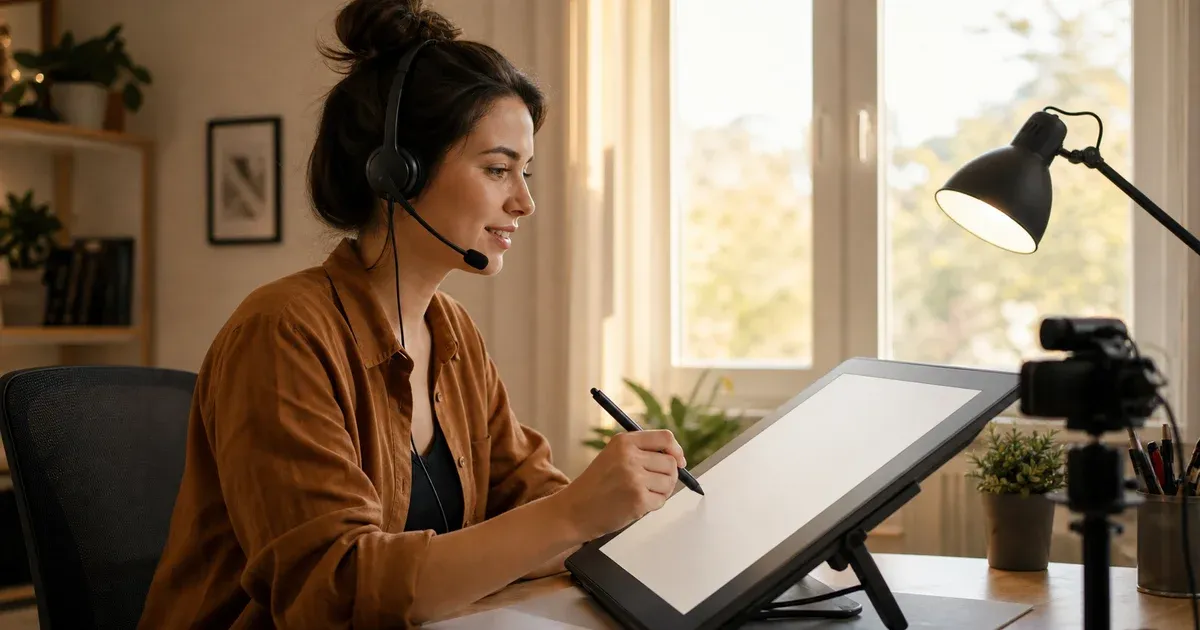
Every teacher and tutor knows the feeling of explaining the same thing for the thirtieth time. The same long-division misstep, the same confusion between "affect" and "effect", the same moment a student loses the thread of the water cycle right at evaporation. You explain it in first period, again at lunch to the student who was absent, again over a message that evening, and again next year to a whole new class. The explanation is good — it is just trapped in the moment it was spoken, and it dissolves the instant the bell rings. What if you recorded the good explanation once, with your voice and your handwriting, and let it teach on repeat while you moved on to the students who need you live?
That is what a narrated whiteboard mini-lesson is: a short recording where you draw a worked example on a blank canvas and talk through it as you go, then hand the finished video to your students to watch at their own pace. The full-screen board app now records exactly this. You open the board app, grant the microphone, draw and explain, stop, watch it back in sync, and export a video file you can drop into Google Classroom or an unlisted link. Nothing uploads, nothing installs, and there is no account — the whole lesson is made and kept in your browser. This guide walks through how to record one well, how to get it to students, and where an async lesson genuinely beats teaching it live again.
What an Async Narrated Mini-Lesson Actually Is
An async lesson is one the student watches later, on their own time, as many times as they need. It is the opposite of a live class, where everyone has to be present at the same minute and a rewind is impossible. It is also different from screen-recording software that captures your whole desktop — apps, windows, notifications and all. A narrated whiteboard lesson records only two things: the drawing appearing on the canvas and the sound of your voice explaining it. There is no webcam and no talking head; the student watches the maths get written and hears you think aloud, which is exactly where their attention should be anyway.
The point of "mini" is deliberate. The most useful async lessons are short and single-purpose — one worked problem, one grammar rule, one diagram built up label by label. A three-minute clip on "how to factor this kind of quadratic" gets rewatched; a forty-minute recording of a whole class does not. Because you are recording a single idea rather than performing a lecture, you can make one in the gap between classes, and a small library of them builds up faster than you would expect. This is the async counterpart to teaching live — for the synchronous side, presenting to a class on a call or a projector, see our guide to a full-screen whiteboard for online teaching.
Recording Your First Lesson
Start by opening the board app, which loads straight onto a blank canvas with the pen already selected. When you press record, the browser asks for permission to use your microphone — grant it once, and the board begins capturing your voice while it captures every mark you draw. From that point you simply teach: write the first line of the problem while you say what it is, draw the next step as you explain why it follows, circle the number that matters as you name it. The drawing and the audio are being stitched together in real time, so the student will later see each stroke appear at the exact moment you talked about it.
Because the board uses the same vector engine as the regular online whiteboard, everything you draw is a real, editable object rather than a smear of pixels. A rough rectangle you sketch while talking snaps into a clean shape, arrows connect and stay connected, and text and sticky notes drop in wherever you need a label. If you need a second to think, just keep talking or pause naturally — you can stop when the explanation is done. When you press stop, the recording is complete and ready to review; there is no rendering queue and nothing to wait for, because it was all assembled locally as you went.
Reviewing the Synced Replay Before You Share
Before a lesson goes to students, watch it back once. The board plays the recording as a synced replay: your drawing reappears stroke by stroke exactly in time with the audio, on a timeline you can scrub. Drag the playhead to any point and both the picture and the sound jump there together, so you can skip to the part you were unsure about and check it lands. This is the moment to catch the things you cannot hear while you are teaching — a step you explained too fast, a stretch of silence where you were thinking, a label you forgot to say out loud.
Reviewing is also how you decide whether a take is good enough to keep. There is no editor to trim clips or splice pieces together — a lesson is a single continuous take — so if the replay shows a mistake worth fixing, you simply record it again. In practice this pushes you toward the right habit for teaching: short, focused takes you can redo cheaply, rather than one long recording you would be tempted to patch. A two-minute lesson is quick to re-record; a twenty-minute one is not, which is another reason to keep each lesson to a single idea. When the replay looks right, you are ready to export.
Exporting the WebM and Getting It to Students
Exporting turns the synced replay into a video file. The board writes out a WebM that downloads as whiteboard-recording.webm — a self-contained video of the drawing and your narration, ready to share however your class already works. Drop it into a Google Classroom assignment or announcement, upload it to your LMS as a Moodle or Canvas resource, or post it as an unlisted YouTube link that only students with the URL can open. Because it is a standard video file, it plays on phones, tablets and laptops without anything to install on the student's side.
One practical note on browsers: recording and replay work in every modern browser, but the video export needs Chrome, Edge or Firefox. In Safari the export button is disabled with a tooltip explaining why, though you can still record and replay there — so if you are on a Mac and plan to export, record the lesson in Chrome or Firefox and you will get the download. The output format is WebM rather than MP4; all three major platforms (Classroom, YouTube, Moodle, Canvas) accept WebM, so it uploads directly. If you also want a still image of the finished board to paste into the assignment description as a preview, our companion guide on exporting a whiteboard to PNG, SVG and PDF covers the static exports.
Why It Beats a Screen Recorder for Teachers
You could record a lesson with general screen-capture software, but for teaching a whiteboard recorder has three concrete advantages. The first is privacy, and for a classroom it matters more than usual. Everything happens in your browser: the audio and the drawing are never uploaded, never stored on a server, and never tied to an account. When you are recording a student's work, or your own voice, or anything touching school data, it is genuinely reassuring that nothing leaves your device — you are not trusting a company with a minor's schoolwork, because the file is only ever on your machine until you choose to share it. This is not a formal compliance certification, but it is the simplest kind of data protection there is: the data never travels.
The second advantage is that there is nothing to install and no account to create, which matters when you are on a locked-down school laptop where you cannot install software. The board is a web page; you open it and record. The third is that a screen recorder captures your entire desktop — your open tabs, your email notification, the student names in your gradebook — whereas the board records only the clean canvas and your voice, so a stray notification can never end up in a lesson you send to thirty families. For teaching specifically, less on screen is better, and the whiteboard gives you exactly the frame the student needs and nothing else.
Four Lessons Worth Recording First
The fastest way to see the value is to record the four kinds of explanation you give most often:
- A math worked example, step by step. Write the problem, then solve it one line at a time, narrating why each move is legal. Because each step appears exactly when you explain it, a student who is stuck on line three can scrub straight to line three and rewatch just that move — something they can never do in a live class.
- A grammar or language breakdown. Parse a sentence on the canvas — underline the subject, box the verb, draw arrows from the pronoun to what it refers to — or lay out a verb conjugation and talk through the pattern. Seeing the structure drawn while hearing it named is far stickier than a printed table.
- A science diagram built up label by label. Draw the water cycle or a plant cell one part at a time, adding each label as you explain what it does, so the diagram grows in the same order as the student's understanding rather than arriving all at once.
- Personalized spoken feedback on one submission. Paste a photo of a single student's work onto the board and annotate it as you talk — circle the error, draw the correction, praise the good step out loud. A ninety-second personal video lands differently from a red pen mark, and because nothing uploads, the student's work stays on your device.
Flipped-Classroom and Tutoring Workflows
Two teaching patterns fit narrated mini-lessons especially well. In a flipped classroom, you record the direct-instruction part — the new concept, the worked example — as a short video students watch at home the night before, which frees your live class time for practice, questions and the students who are struggling. A library of these clips, one per concept, becomes a course you can reuse every year: record the factoring lesson once, and every future cohort watches the same clean explanation while you spend the lesson helping rather than lecturing.
For one-to-one tutoring, the recordings extend the session past the hour you are paid for. After a lesson, record a two-minute recap of the one thing the student kept getting wrong and send it over, so they have your actual voice and handwriting to review during the week instead of a half-remembered explanation. When a student emails a question between sessions, answering with a short recorded lesson is often faster and far clearer than typing, and it becomes something they can rewatch rather than a message they read once. Over a term, a tutor builds a personal archive of explanations keyed to exactly the mistakes their students make.
Tips for Good Narrated Lessons
A few habits make the difference between a lesson students actually use and one they abandon. Pace yourself for the rewind: because they can pause and scrub, you do not need to rush, but you should leave a clear beat between steps so a paused frame always makes sense on its own. Handle silence deliberately — a second of quiet while you draw is fine and even helpful, but do not go quiet for long stretches, because the student cannot see you thinking and will assume the video has stalled; narrate what you are doing even when it feels obvious. Mind color contrast on the light canvas: dark, saturated colors read clearly in a compressed video, whereas pale yellows and light greys can wash out, so favor strong colors and thicker strokes than you would use on paper. And keep each lesson to one idea with a clear beginning and end, because a tightly scoped clip is the one that gets rewatched and shared. If you want to record a longer explainer without a screen recorder, our guide on recording a whiteboard explainer video with voice covers the same tools from the content-creator angle.
When to Teach Live Instead
Recorded lessons are not a replacement for live teaching — they are a way to protect it. Anything that depends on the student's response in the moment belongs in a live session: diagnosing exactly where a particular student is confused, adapting on the fly to a question you did not expect, or the back-and-forth of coaching someone through a problem they are actively solving. The board has no live co-editing and no real-time collaboration, because the file never leaves your device; it is built for one person recording, not a shared session, so genuine two-way teaching still happens on your call platform or in the room. There is also no automatic transcription or captions, so if you need subtitles for accessibility you would add them on the platform you upload to. Use the recordings for the parts of teaching that are the same every time — the clean worked example, the concept explained well — and spend your live hours on the parts that are different for every student. To try it, open the board app or the full-screen whiteboard tool page, grant your microphone, and record the one explanation you are tired of giving.