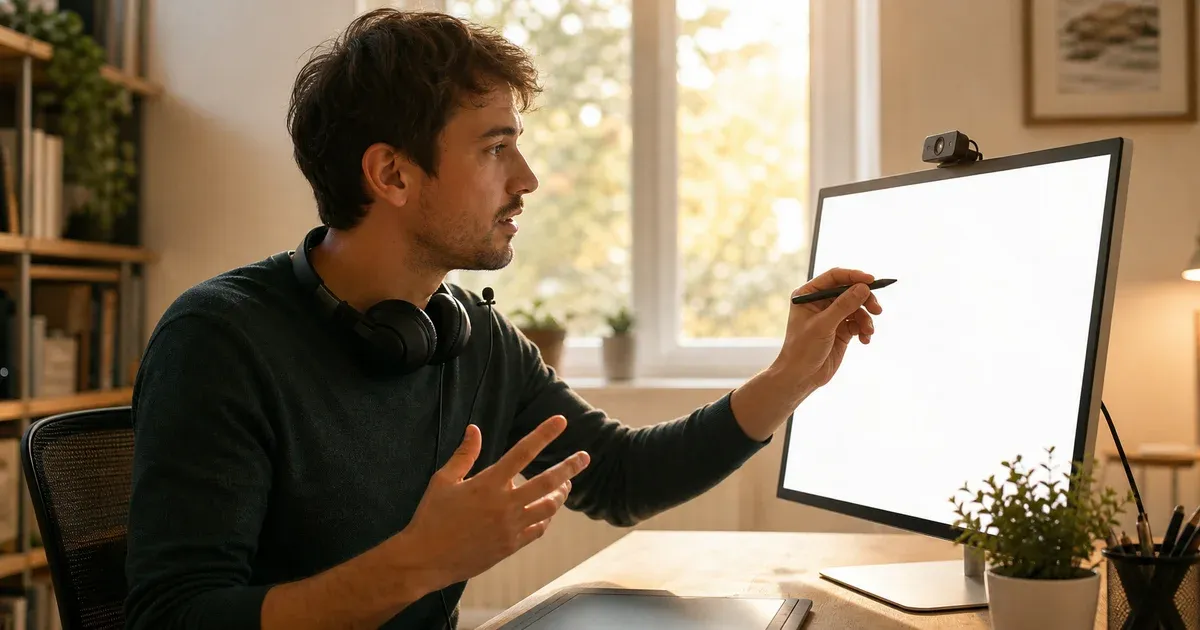
Somewhere between "I'll just type it out" and "let me schedule a call" sits the thing you actually want to send: a short video where you explain something while drawing it, so the other person can see the idea take shape and hear you talk through it. The reason most people never make that video is the tooling. The conventional path to an explainer video is a small production line — install a screen recorder, record your desktop, drop the clip into an editor, trim the dead air, render it out, and only then upload it somewhere. Each step is a place to give up. This guide is about skipping the entire line. You open a browser tab, you talk while you draw on a whiteboard, and you export a finished video file — no screen recorder, no editing software, nothing to install, and the audio never leaves your machine while you work.
The feature that makes this possible lives in the full-screen board app: a voice-over recorder built directly into the whiteboard. You press record, the browser captures your microphone while you draw, and when you stop you get a synced, scrubbable replay you can watch back and then export as a video. It is the shortest path from "I should explain this" to "here is a link," and this article walks the whole route.
The Old Way to Make an Explainer Video (and Why People Quit)
Picture the standard workflow. First you download and install a screen recorder — OBS, Camtasia, a Loom-style app — and grant it permission to capture your display. Then you set up a scene, position windows, do a test take, and record your whole screen, which means the recorder also captures your notifications, your dock, and whatever else is open. Then you import the raw clip into a video editor to cut the false starts and the pause where you sneezed. Then you export, which pins your laptop for a few minutes while it renders. Then you upload. Five tools and a handful of decisions stand between you and a two-minute explanation, and each one is friction that convinces you the message would be "faster to just write."
The trouble is that writing rarely is faster, and it is almost never clearer, when the thing you are explaining is visual — a flow, a layout, a relationship between parts, a before-and-after. A drawn explanation with your voice on top lands in seconds what a wall of text fumbles for paragraphs. The screen-recorder tax is the only reason we reach for the wall of text. Remove the tax and the video wins every time.
What You Actually Need: A Browser Tab and a Microphone
Here is the entire kit. A modern browser. A microphone — the one built into your laptop is fine, though a cheap clip-on or a headset mic sounds noticeably better. That is the list. There is no application to download, no account to create, no plugin to authorize. You open the board app, it loads straight onto a blank canvas with the pen ready, and the record button is right there in the interface.
The drawing surface is the same vector engine as the regular online whiteboard — a smooth pen and highlighter, shapes that auto-recognize from a rough sketch, arrows and connectors, sticky notes, text and images, all on an infinite canvas you can pan and zoom. Every mark is a real, editable object rather than a smear of pixels, which matters while you talk: you can nudge a box, re-point an arrow, or drop in a screenshot mid-sentence without breaking your flow. The board is the visual half of the explainer, and your voice is the other half, captured together.
Recording: Press the Button, Grant the Mic
To start, press record. The first time, your browser asks for permission to use your microphone — the standard prompt you have seen on any video-call site — and you allow it. From that moment the app is capturing your microphone audio in real time as you draw. There is no scene to configure, no region to select, no test render. The recording is the drawing plus your narration, nothing else on your screen and nothing from any other app.
Because it captures your microphone rather than your display, the recording is exactly the board and your voice — not your desktop, not your other windows, not a stray notification. That is a meaningful difference from a screen recorder, which grabs everything the monitor shows and forces you to clean up afterwards. Here there is nothing to clean up, because there was never anything extraneous in the frame to begin with.
Talk While You Draw
The recording itself is the easy part, because it is just you explaining something the way you would to a person leaning over your shoulder. Start with the pen and sketch as you speak — the shape recognition tidies a rough rectangle or circle into a clean one, so you can draw quickly without the board looking scrappy. Use the highlighter to sweep attention to the part you are talking about. Drop an arrow to show that this leads to that. Paste a screenshot or a photo and annotate on top of it, since the drawing sits above the image as its own layer. Add a sticky note to hold a label, then drag it where it belongs as the explanation moves.
The rhythm that reads best is to let the drawing keep pace with your sentence, so a viewer sees each piece appear exactly as you name it, rather than watching a finished diagram while you narrate it after the fact. You do not need a script — a rough outline of the three or four points you want to hit is plenty, and the naturalness of thinking out loud is part of why these videos feel human. If you draw yourself into a crowded corner, zoom out to show the whole picture and then back in; the pan and zoom happen inside the canvas, so the recording follows you smoothly.
Watch the Replay, Re-Record if You Need To
When you stop, you do not get a mystery file to preview in another app — you get a synced replay right there. The drawing plays back in step with your audio on a scrubbable timeline, so you can seek to any moment, watch a section again, and judge whether the pacing and the narration landed. This is your review pass: listen to whether you rushed the middle, check that the arrow appeared when you said "and that connects here," confirm the whole thing makes sense start to finish.
Be clear-eyed about what this review is, because it shapes how you record. There is no built-in editor — you cannot trim a clip, cut a pause, or splice two takes together on a timeline. The replay is for judging the take, not surgically editing it. If a take is not good enough, you re-record it. In practice that is liberating rather than limiting: instead of fussing over an edit timeline, you give the explanation one more clean pass, which is usually faster than editing anyway and keeps the delivery natural. Keep your takes short and focused and re-recording costs almost nothing.
Export the Video (and the Browser Note You Should Know)
Once a take is good, export it. The app renders the synced replay — your drawing appearing in time with your narration — into a single video file that downloads as whiteboard-recording.webm. It is a normal file on your computer that you can play, keep, or share like any other.
Because "no screen recorder" naturally raises the technical question, here are the honest specifics. The export format is WebM, a modern, widely supported open video format (the same container YouTube and most of the web use under the hood — see MDN's overview of WebM). Video export works in Chrome, Edge and Firefox. In Safari, the export button is disabled with a tooltip explaining why — but recording and the synced replay still work in Safari, so you can record and review there and simply do the final export from one of the supported browsers. There is no MP4 export; the file is WebM. For the small number of places that still prefer MP4, a one-off conversion after download handles it, but for the web, for messaging, and for most players, WebM plays directly.
Where the Video Goes Afterwards
This is the part the old workflow made needlessly complicated: once you have the file, it is just a file, and it goes wherever files go. Attach it to an email. Drop it into a Slack or Teams message. Upload it to YouTube, Vimeo, or Google Drive and share the link. Add it to a help-center article, a Notion page, or a product doc. Because the export is a standard video, no destination needs a special integration or a plugin — you are not locked into one platform's player, because nothing about the recording was tied to a platform in the first place.
That freedom is the quiet payoff of exporting a real file instead of recording into someone's cloud. The video is yours, portable, and identical everywhere you put it. If you would rather keep the underlying board too, you can export the scene separately and reopen it later to record an updated version — but the video itself needs nothing more than the download you already have.
Why "Audio Never Leaves Your Browser" Matters
The recording is entirely client-side. Your microphone audio and your drawing are captured and assembled inside your browser on your own machine; nothing is uploaded to a server, nothing is stored in an account, and no account is required to begin with. The WebM you download was built locally and handed straight to you. Contrast that with cloud recorders, where your voice and screen are streamed to a company's servers to be processed and hosted, and you are trusting their retention policy with whatever you happened to say.
For an explainer this is more than a nicety. You might be walking through an unreleased feature, a client's private numbers, an internal process, or something you simply have not decided to make public yet. Because the audio and the board never leave your browser while you work, that draft stays a draft until you choose to share the exported file. You control the one moment the video becomes visible — the moment you decide to send it — rather than handing that decision to a server the instant you press record.
Four Things This Is Perfect For
The format is broad on purpose, but a few recipes come up again and again:
- Explaining how a process works end to end. Draw the steps as boxes, connect them with arrows as you narrate what happens at each stage, and a viewer follows the whole flow the way they would if you sketched it on a napkin across the table.
- Walking someone through an idea you are pitching. Build the concept live — the problem, the insight, the shape of the solution — so the person you send it to sees your reasoning unfold instead of reading a static one-pager and guessing at the connective tissue.
- A quick "here's how to do X." Answer a how-to with a two-minute sketch-and-talk that is faster to make than a screenshot-laden document and far clearer than a paragraph of instructions.
- Answering a frequently asked question once, forever. Record the explanation to the question you keep getting, then reuse that one video every time it comes up again instead of re-typing the same answer to each new person.
Who This Is For
This is the general-purpose version of a recorded whiteboard, and it fits almost anyone who ever needs to explain something visual: creators making short lessons, support teams answering tickets, founders pitching an idea, product folk documenting a decision, or anyone who would otherwise write a long message when a two-minute video would land better. Two audiences have their own specialized guide worth reading. If you are a teacher or trainer building short lessons, our companion article on recording narrated whiteboard lessons covers the classroom-specific patterns. If you are on a distributed team and want to replace a status meeting or hand off context asynchronously, our guide to recording a narrated whiteboard walkthrough is written for exactly that. Both use the same record-talk-export mechanic described here, aimed at their particular job.
The Honest Limits
It is worth being straight about what this is and is not, so it fits your work rather than surprising you. The recording is audio only — it captures your voice and the board, not a webcam or a talking-head video, so there is no picture-in-picture of your face. It does not record your screen or any other application; it records the whiteboard you are drawing on, which is the point but is not a general screen recorder. The export is WebM, not MP4, and that final export needs Chrome, Edge or Firefox, though recording and replay work in Safari too. And there is no built-in editor — no timeline to trim, cut, or stitch takes — so you polish by re-recording rather than editing. For the vast majority of quick explainers, those limits are exactly the trades that keep the tool fast and private, and none of them stand between you and a finished video.
Open It and Record
The whole pitch collapses into a single suggestion: try it once. Open the full-screen board app, press record, allow the microphone, and explain the first visual thing that comes to mind while you draw it. Watch the replay, re-record if you want a cleaner take, and export the WebM — then send it wherever you like. If you want the full toolkit and details first, the full-screen whiteboard tool page lays everything out. It runs in your browser, the audio never leaves your machine, and there is nothing to install — which is the whole reason the video finally gets made.