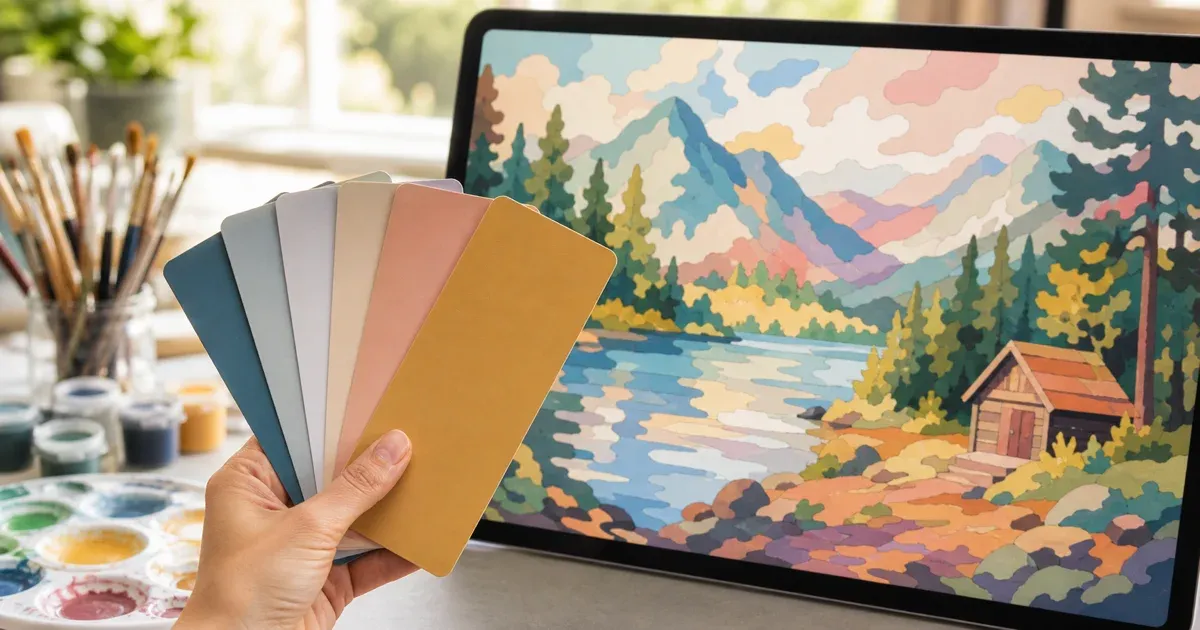
Why the Auto Palette Isn't Always the Right Palette
By default, a paint-by-numbers generator decides the colors for you. It runs k-means clustering on the pixels of your photo, groups similar colors together, and picks the mean color of each group as a representative — the process we cover in detail in how many colors a paint-by-numbers template should have. That auto-generated palette is optimized for one thing: reproducing the photo as faithfully as possible with a given number of colors. It has no idea what paints are sitting on your shelf.
That's fine if you're happy to buy or mix whatever the tool suggests. It's a problem if you already own a set of acrylics, you're matching a brand's official color codes, or you're working with a tight paint budget and can't add five new tubes for one project. This is exactly the gap a custom color palette mode closes: instead of letting the algorithm invent colors from scratch, you supply the colors and the tool fits your photo to them.
Auto Palette vs. Custom Palette: What Actually Changes
It helps to be precise about what's different under the hood, because the two modes solve different problems.
Auto Palette (the default)
The tool looks at your photo, runs k-means clustering in a perceptual color space, and lets the cluster centroids become the palette. You tell it how many colors you want; it decides what those colors are. This is the right choice when you're starting from a blank canvas and buying paint to match the result — the palette is whatever best represents the photo.
Custom Palette (bring your own colors)
You supply the exact colors — from paints you already own, a brand style guide, or any other source — and the tool maps every pixel in your photo to the nearest color in your list. No new colors are invented. If your list doesn't contain a good match for the sky in your photo, the tool picks the closest color you gave it rather than quietly adding a new blue. This is the right choice when the constraint is the paint, not the photo.
Both modes use the same underlying region-building pipeline afterward — cleanup, outline tracing, numbering — so the finished template looks and behaves the same either way. The only thing that changes is where the colors come from.
Three Ways to Supply Your Colors
The Paint by Numbers Generator's custom palette mode accepts colors from three sources, and you can combine them in a single project:
- Extract from a reference image. Upload a photo of your paint set, a color chart, or a reference swatch card, and the tool extracts the dominant colors from it. This is the fastest way to digitize a physical acrylic set — photograph the paint pots or a test swatch of each one, and let the tool read off the colors.
- Paste hex codes. If you already know the exact colors — a brand's official palette, a manufacturer's published paint codes, or values you picked with a color picker tool — paste them in directly as hex codes. This is the most precise option because there's no photography or lighting involved; the color is exactly what you typed.
- Add individual swatches. Build a palette one color at a time using a swatch picker, useful when you're assembling a palette gradually or want to eyeball-adjust a color before adding it.
You can mix all three in the same session: extract a base set from a photo of your paint tray, paste a couple of hex codes for colors you're ordering online, and add a swatch or two by hand for touch-ups.
Supply Many, Use Few: Capping the Palette to N Colors
A common misconception is that a custom palette has to be small. It doesn't. You can supply a large list of colors — say, every shade in a big acrylic set — and then cap how many of those the tool is actually allowed to use in a given template. Give it 1,000 candidate colors and tell it to use only 32, and it will select and assign from within your full list while keeping the final template limited to 32 paints.
Why this matters in practice: you might own a huge, varied paint collection built up over years, but not want to pull out 40 pots for one canvas. Supplying the whole collection as your candidate list and capping the output to a manageable number gives you the best of both — the tool always has your full color range to choose from, but the finished project only calls for the paints that earn their place. This is the same idea behind requesting a specific color count in the auto mode, just applied to a palette you control instead of one the algorithm invents.
How Nearest-Color Matching Keeps Results Faithful
Once you've supplied your palette, the tool needs to decide, for every pixel, which of your colors it should become. This is a nearest-color assignment problem: for each pixel's color, find the closest match among the colors you provided and use that one.
"Closest" has to be measured somewhere, and simple RGB distance is a poor choice — two colors can be numerically close in RGB while looking quite different to the eye, or vice versa. To avoid that mismatch, the comparison is done in the CIELAB color space, which was designed so that Euclidean distance between two colors approximates how different they look to a human viewer. It's worth being precise here: CIELAB is not perfectly perceptually uniform, but it approximates perceived difference far better than raw RGB does, which is why it's the standard space for this kind of color-matching work.
The practical effect is that when your photo contains a shade your palette doesn't have an exact match for, the tool picks the visually closest option from your list rather than the one that happens to be closest in raw pixel values. That's what keeps a custom-palette template looking coherent instead of assigning odd, jarring colors to regions that don't have a good match.
How This Relates to Color Quantization
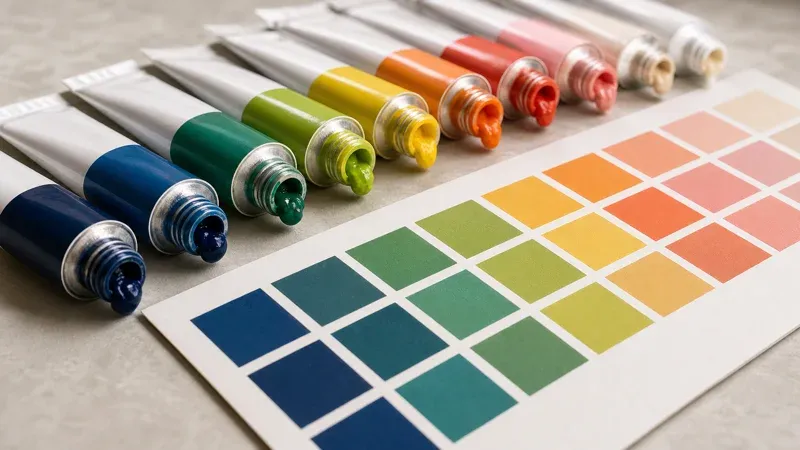
Both the auto palette and the custom palette are variations on the same underlying problem: color quantization, reducing an image's huge range of colors down to a small, fixed set. The classic approaches to quantization fall into two families. One family, like k-means clustering, discovers the palette from the image itself — this is what the auto mode does. The other family fixes the palette ahead of time and assigns pixels to it — this is what happens conceptually in median cut quantization once its recursive splitting has produced a final set of boxes, and it's the same logical step a custom palette performs when it maps your photo onto colors you already chose.
Understanding this distinction is useful because it tells you what to expect from each mode. Auto palette optimizes for fidelity to the photo — it will always find the colors that best represent your image, because it's free to pick any colors it wants. Custom palette optimizes for fidelity to your paints — it accepts a small amount of color mismatch on some pixels in exchange for guaranteeing that every color in the final template is one you can actually paint with.
Practical Use Case: Matching an Existing Acrylic Set
Say you already own a 24-color student acrylic set. Rather than let the generator invent colors you'd need to mix or buy separately, photograph your paint pots (or paint small test swatches on paper and photograph those under even lighting), extract the palette from that photo, and generate your template in custom mode. Every region in the finished template will map to a paint you already have open on your table. If a couple of extracted colors look slightly off due to lighting, you can fine-tune them with the swatch picker before generating.
Practical Use Case: Brand Colors
If you're painting something tied to a specific brand identity — a company logo, a sports team's colors, a mascot — you likely have official hex codes for those colors already. Paste them directly into the custom palette rather than relying on a photo. This avoids any lighting or photography inaccuracy and guarantees the template uses the exact brand values. It's the most precise of the three input methods for exactly this reason: there's no extraction step to introduce drift between the stated color and the one the tool actually uses.
Practical Use Case: A Limited Paint Budget
If you're working from a small, fixed set of paints — a beginner's kit, a travel set, or simply what you can afford right now — enter that limited palette as your custom colors and let the tool do the best it can within those constraints. Because nearest-color matching in CIELAB space is used for the assignment, you'll get the most visually reasonable result possible from a small palette, rather than the tool trying to stretch your paints across colors they can't represent well. This is a different, more useful outcome than requesting a low color count in auto mode, because here you know in advance exactly which paints the finished template will call for.
Choosing Between Auto and Custom for Your Next Project
A simple way to decide: if you're buying paint specifically for this project and want the best possible likeness, use the auto palette and let the algorithm choose freely — see our guide on picking the right number of colors for how to size that palette well. If you already own paint, are matching official colors, or have a hard cap on how many pots you're willing to buy or mix, switch to custom palette, supply your colors through whichever of the three input methods is most convenient, and optionally cap the usage count so the template stays practical to paint. For the full technical picture of how the generator builds a template once the palette — auto or custom — is settled, see how paint-by-numbers generators work.
Conclusion
A custom color palette turns paint-by-numbers generation from "here's the palette you now need to acquire" into "here's how to use the paint you already have." Supply your colors by extracting them from a reference image, pasting hex codes, or adding swatches by hand; supply as many candidate colors as you like and cap the template to only the number you actually want to use; and trust the nearest-color matching in CIELAB space to keep the result faithful to your photo within the constraints of your palette. Try it with your own paint set on the free Paint by Numbers Generator — everything runs in your browser, so your reference photos never leave your device.
References and Further Reading
- Color quantization — background on reducing an image to a fixed set of representative colors, the shared problem behind both auto and custom palettes.
- k-means clustering — the clustering algorithm the auto palette uses to discover colors directly from the photo, contrasted here with supplying a fixed palette yourself.
- CIELAB color space — the perceptual color space used for nearest-color matching, designed to approximate perceived color difference, though not perfectly perceptually uniform.
- Median cut — a classic color quantization technique that, like custom palette assignment, maps an image onto a predetermined set of colors.